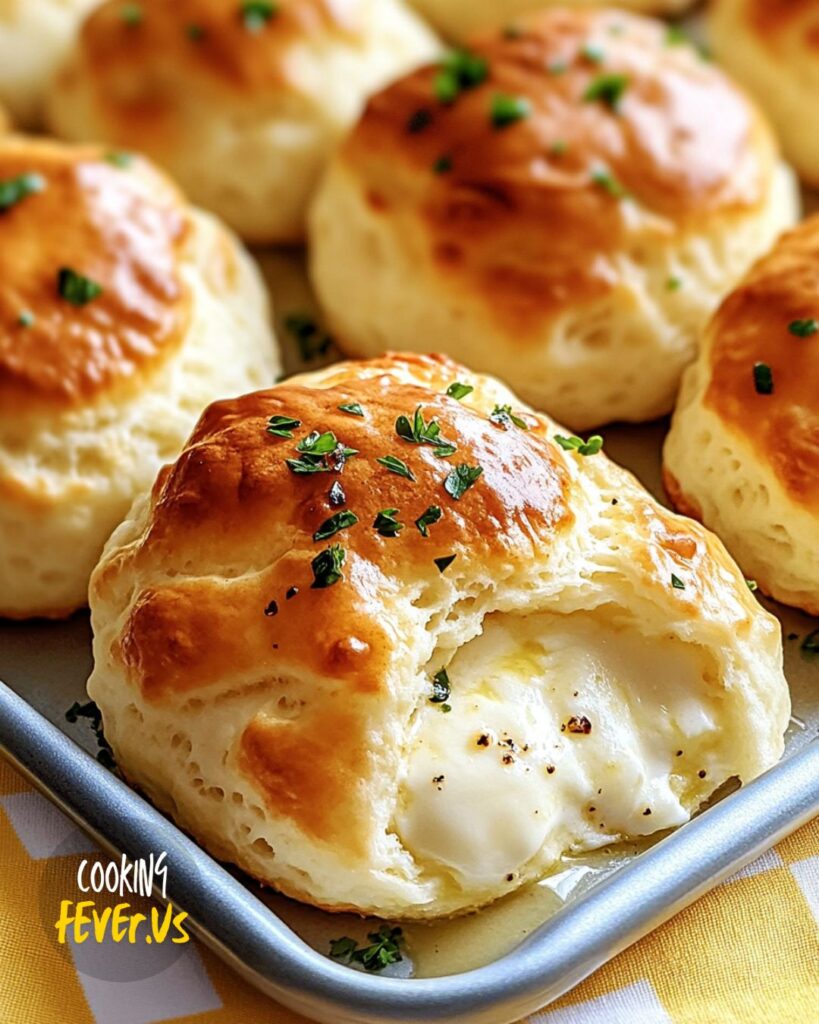
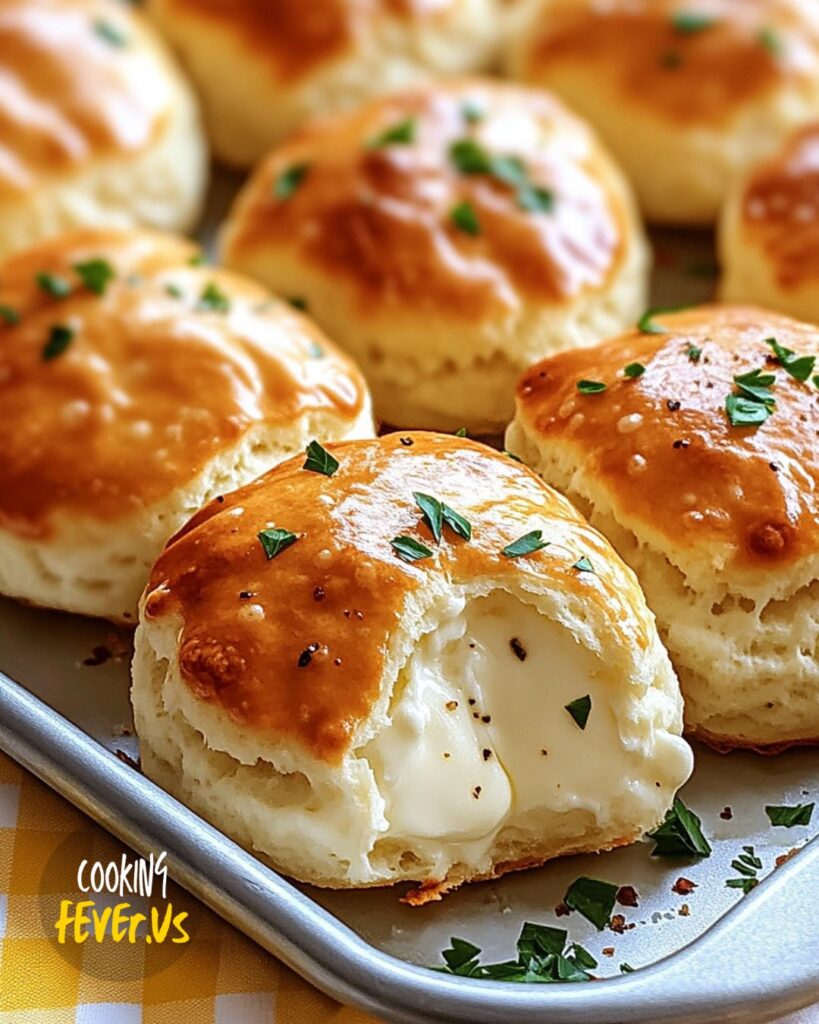
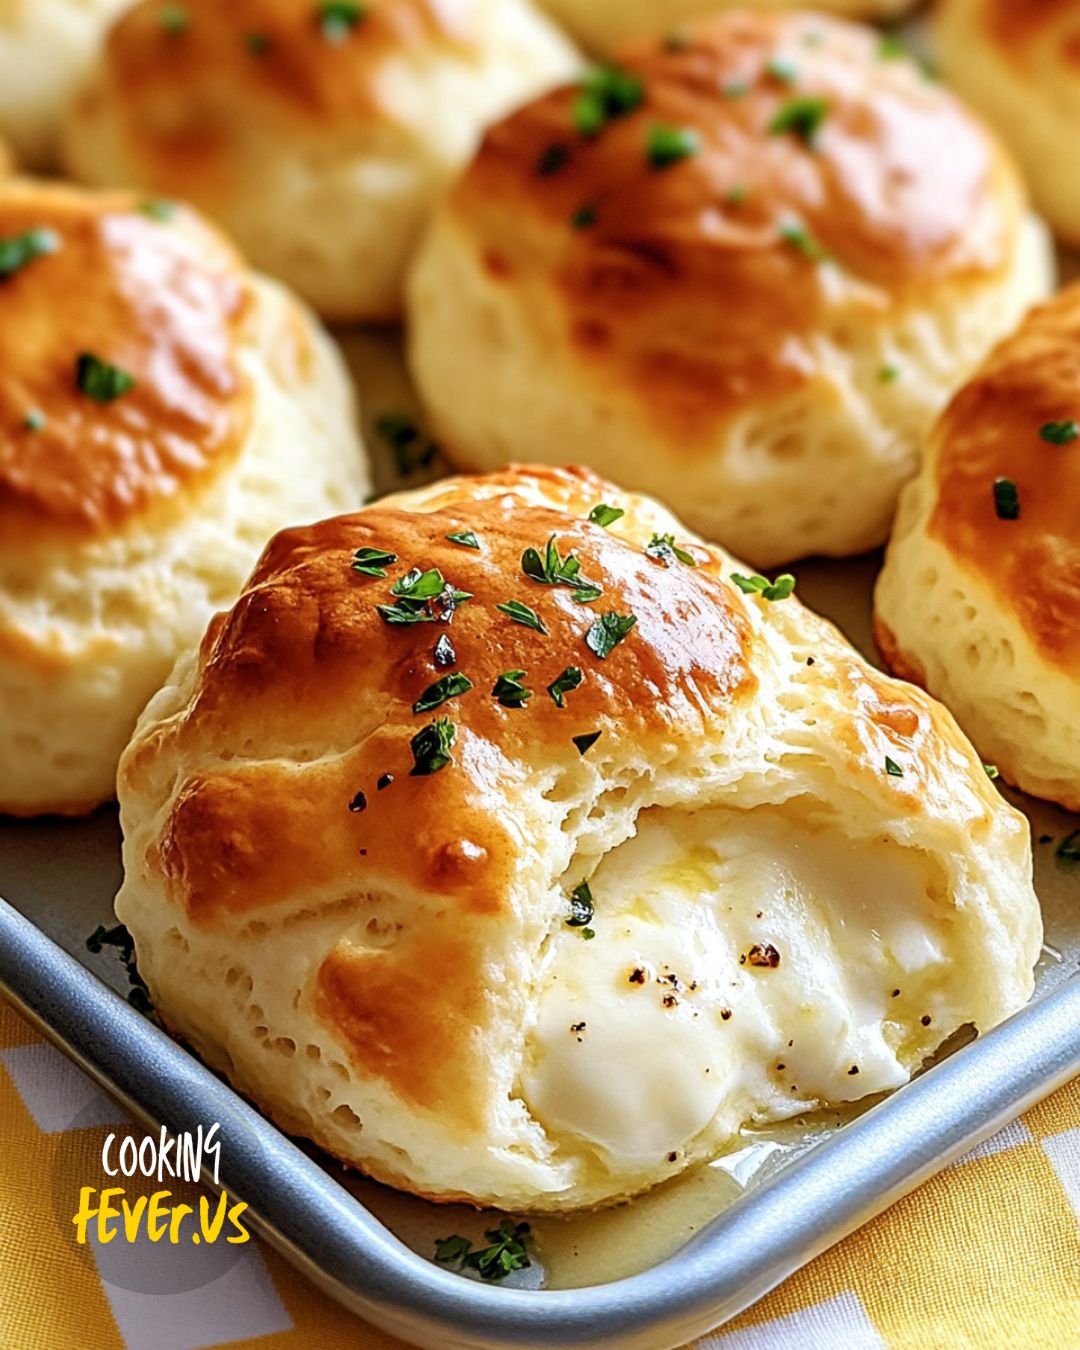
These cheese-filled wonders have become an all-time favorite for my family gatherings. They’re incredibly simple to prepare, yet they pack a punch of flavor that leaves everyone reaching for more. The first time I made them, I was a bit nervous about getting the cheese just right without it escaping the dough. But with a few little tricks, they turned out perfect—gooey, golden, and oh-so-delicious.
What I love about these cheese bombs is their versatility. Whether it’s a casual weekend hangout or a special occasion, they fit right in. The kids love to help with wrapping the dough, making it a fun kitchen activity that brings everyone together. Plus, with ingredients like mozzarella and garlic powder, who could resist? I often experiment by adding different cheeses based on what I have available, and cheddar gives a lovely sharpness that’s equally delightful.
So, if you’re looking for a quick and easy recipe that promises smiles all around, these Garlic Butter Cheese Bombs are just the ticket. They’re perfect for whipping up last minute when you need something special but don’t want to spend hours in the kitchen. Give them a try, and I bet they’ll be a hit in your home just like they are in ours!
How to Make Pillsbury Garlic Butter Cheese Bombs
Click here to get printable version
Ingredients:
- 1 (16oz) package of refrigerated biscuit dough (8 biscuits)
- 4 oz mozzarella cheese (diced string cheese or shredded)
- 4 tbsp unsalted butter (melted, 1/2 stick)
- 1 tsp garlic powder
- 1 tsp Italian herbs
- a pinch of salt
Directions:
- Start by preheating your oven to 400°F and lining a baking sheet with parchment paper.
- Take each biscuit and gently flatten it. Place a piece of mozzarella on top. You can use either diced string cheese or a small handful of shredded cheese.
- Wrap the biscuit dough around the cheese, making sure to pinch and seal the edges tightly to keep the cheese enclosed during baking.
- Arrange the sealed dough balls seam side down on the prepared baking sheet. Bake them for 10 to 12 minutes until they turn golden brown.
- While the cheese bombs are baking, melt the butter in a microwave-safe bowl. Stir in the garlic powder, Italian herbs, and a pinch of salt to create a flavorful butter mix.
- Once baked, brush each cheese bomb generously with the garlic butter mix while they’re still hot.
- Serve these delightful cheese bombs warm for best results, and enjoy the gooey, cheesy goodness!
Ingredient Tweaks for Your Pantry
If you’re out of mozzarella, no worries! Swap it with cheddar or Monterey Jack for a different flavor profile. For a twist, try adding a bit of crumbled feta inside each bomb. Out of garlic powder? Use freshly minced garlic for a more robust taste. You can also use mixed dried herbs if Italian seasoning is not handy.
The Best Way to Store Pillsbury Garlic Butter Cheese Bombs Leftover
If you happen to have any leftovers (though that’s rare in my house!), store them in an airtight container in the refrigerator. They can last for up to three days. To reheat, pop them in the oven at a low temperature until warmed through. You can also freeze them for up to a month and reheat directly from frozen.
Perfect Pairings for Garlic Butter Cheese Bombs
These cheese bombs are delightful when paired with a light salad or a bowl of tomato soup for a cozy meal. For a get-together, serve them alongside a charcuterie board. A cold glass of lemonade or a sparkling wine complements the cheesy, garlicky flavors well.
Secrets to Perfecting Pillsbury Garlic Butter Cheese Bombs
To ensure the cheese stays inside, make sure to seal the dough tightly. Don’t overstuff each biscuit, as tempting as it might be. For extra crispiness, brush the tops with a bit more butter halfway through baking. Keep an eye on them in the oven, as they can go from golden to overdone quickly.
Adding a Seasonal Spin to Cheese Bombs
In springtime, try adding finely chopped fresh herbs like basil or chives for a burst of freshness. During summer, serve them with a side of fresh corn salad. In the fall, a sprinkle of pumpkin spice can offer a surprising twist. And in winter, pair with a hearty stew to warm up those chilly nights.
FAQs:
How can I prevent the cheese from leaking out?
Ensuring the dough is sealed tightly around the cheese is key. Pinch the edges well and roll the seam under when placing on the baking sheet. You can also slightly flatten the dough ball to reinforce the seal.
Can these cheese bombs be made ahead of time?
Absolutely! You can prepare them a few hours in advance and refrigerate until you’re ready to bake. Just bring them to room temperature before popping them in the oven to ensure even cooking.
Are there any gluten-free options for this recipe?
Yes, you can use gluten-free biscuit dough available at most grocery stores. Ensure that the other ingredients, like your cheese and herbs, are also gluten-free to make it a fully gluten-free dish.
What’s the best way to reheat cheese bombs?
The best way to reheat them is in the oven at a low temperature to maintain their texture. Microwaving is an option but can make them a bit chewy. If reheating from frozen, add a few extra minutes to the oven time.
Can I use different herbs in the butter mix?
Definitely! Feel free to experiment with herbs like rosemary, thyme, or even a sprinkle of red pepper flakes for some heat. This flexibility allows you to tailor the flavor to your family’s preferences.
What should I do if I don’t have parchment paper?
No parchment paper? No problem! You can lightly grease your baking sheet with cooking spray or a bit of oil to prevent sticking. Alternatively, a silicone baking mat works wonderfully as well.
Pillsbury Garlic Butter Cheese Bombs
Equipment
- oven
- baking sheet
- microwave-safe bowl
Ingredients
- 1 16 oz package refrigerated biscuit dough (8 biscuits)
- 4 oz mozzarella cheese (diced or shredded)
- 4 tbsp unsalted butter (melted, 1/2 stick)
- 1 tsp garlic powder
- 1 tsp Italian herbs
- a pinch salt
Instructions
- Start by preheating the oven to 400°F and line a baking sheet with parchment paper.
For Cheese Bombs:
- Gently separate each biscuit and place a portion of mozzarella cheese on top. You can use either diced string cheese or shredded mozzarella.
- Wrap the dough around the cheese, pinching it to ensure a secure seal to avoid any cheese leaking out during baking.
- Position the filled biscuit balls on the prepared baking sheet with the seam facing down. Bake for around 10 to 12 minutes until they turn a golden brown color. If you desire extra gooeyness, bake them a little longer.
For Garlic Butter Glaze:
- While the cheese bombs are baking, melt butter in a microwave-safe bowl. Combine it with garlic powder, Italian herbs, and a pinch of salt.
- Once the cheese bombs are baked to a lovely golden brown, brush them thoroughly with the garlic butter mixture.
- These delectable cheese bombs are best enjoyed fresh and warm from the oven. Relish every moment!
