There’s something undeniably magical about food that brings people together, and today, I’m excited to share a recipe that embodies that very spirit. Imagine a cozy evening, where laughter fills the air, and the aroma of freshly baked goodies wafts through the house. This scene is reminiscent of the countless times I’ve spent with my family, enjoying simple yet delectable dishes that turn ordinary moments into cherished memories.
One of my fondest memories involves my grandmother’s kitchen, a place where the heart of our family gatherings truly resided. Her kitchen, always bustling with activity, was a haven for delicious aromas and heartfelt conversations. It was during one of these lively gatherings that I first encountered a variation of what we now call Pillsbury Biscuit Garlic Butter Cheese Bombs. I remember my grandmother’s face lighting up as she pulled golden, cheesy delights from the oven. The gooey cheese and fragrant garlic butter created a combination that was simply irresistible, and it wasn’t long before everyone was clamoring for seconds.
These cheese bombs became a staple at our family parties, and each bite was a reminder of the love and joy that went into every gathering. Over the years, as my own family grew, I made it a point to continue this tradition. Each time I prepare these garlic butter cheese bombs, I can’t help but think of those wonderful moments shared with my loved ones. It’s incredible how a simple recipe can carry such a rich tapestry of memories, transforming everyday meals into special occasions.
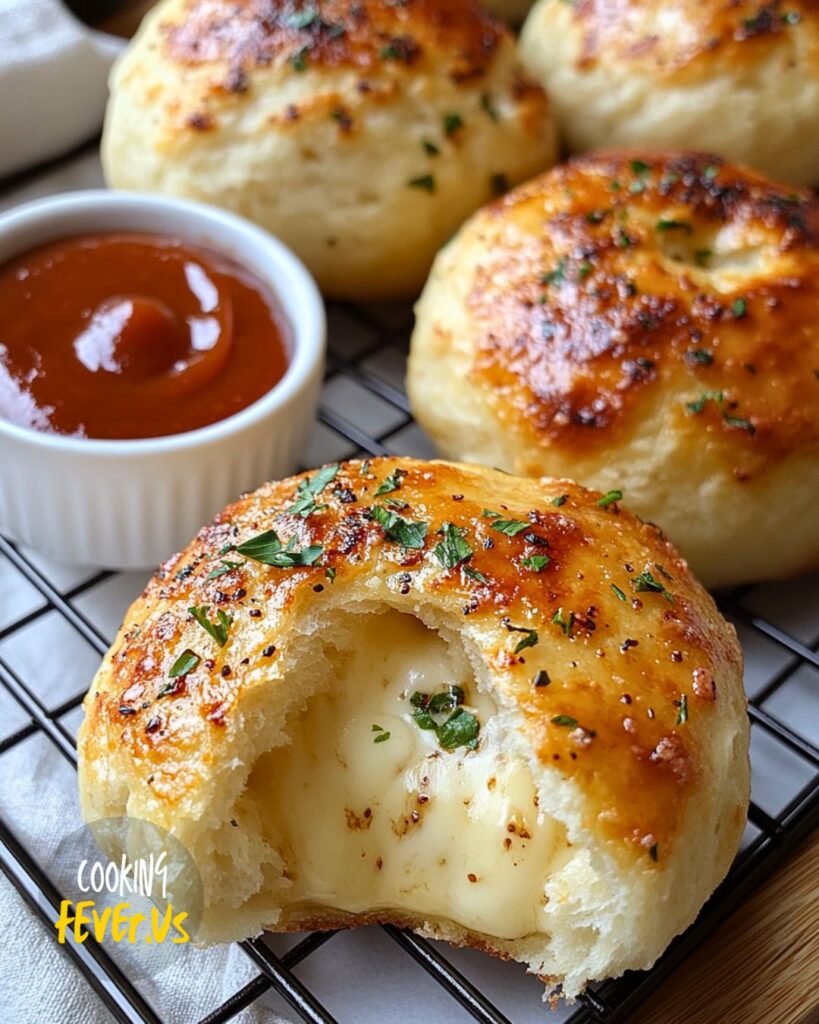
The recipe itself is a breeze, with Pillsbury biscuit dough serving as the base for a cheesy surprise. Each biscuit is stuffed with mozzarella or string cheese, encased in buttery, garlic-infused goodness. The best part? They bake up in just 10-12 minutes, making them perfect for any impromptu gathering or a cozy family night in.
Whether you’re reminiscing about your own cherished memories or creating new ones, these Garlic Butter Cheese Bombs are sure to be a hit. Their crispy, golden exterior and gooey cheese center make them a delightful treat that’s both comforting and satisfying. So, gather your loved ones, preheat your oven, and let the aroma of garlic and cheese fill your home. These bombs are more than just a snack—they’re a delicious way to share a piece of your heart.
Making Pillsbury Biscuit Garlic Butter Cheese Bombs
Click here to get printable version
Ingredients
- 1 (16oz) package of refrigerated biscuit dough (8 biscuits)
- 4 ounces shredded mozzarella cheese (or diced string cheese)
- 4 tablespoons melted butter (half a stick)
- 1 teaspoon garlic powder
- 1 teaspoon Italian herbs
- A pinch of salt
Directions
- Preheat your oven to 400°F and prepare a baking sheet by lining it with parchment paper.
- Take each biscuit from the package and place a portion of cheese on top. You can use shredded mozzarella or small chunks of string cheese. Cheddar cheese is a good alternative if preferred.
- Fold the biscuit dough around the cheese, pinching the edges together to seal. This will prevent the cheese from oozing out while baking.
- Place the sealed dough balls, seam side down, onto the prepared baking sheet. Bake for 10-12 minutes or until the biscuits turn a golden brown color. Adjust the baking time if needed to ensure the cheese melts completely.
- While the biscuits bake, melt the butter in a microwave-safe dish. Mix in the garlic powder, Italian herbs, and salt until thoroughly combined.
- Once the biscuits are out of the oven, brush each one with the garlic butter mixture while they are still warm.
- Serve immediately for the best flavor. Enjoy your delicious cheese bombs!
Storing Suggestion
Store any leftover cheese bombs in an airtight container at room temperature for up to 2 days. For longer storage, refrigerate them for up to a week. Reheat in the oven to restore their crispness.
Cooking Tips
For a more pronounced garlic flavor, increase the garlic powder to 1.5 teaspoons. Experiment with different types of cheese such as cheddar or pepper jack to vary the flavor. If the dough is hard to seal, lightly wet the edges with water to help them stick together.
Serving Suggestions
Serve these cheese bombs as a delicious appetizer or side dish. They pair wonderfully with marinara sauce for dipping or a fresh green salad. Try serving them alongside a spicy tomato soup for a comforting meal.
Ingredient Substitutions
Substitute the mozzarella cheese with any cheese of your choice, such as cheddar, gouda, or Swiss. If you prefer a lower-fat option, use a reduced-fat cheese and butter. You can also replace the Italian herbs with dried oregano or basil if needed.
Seasonal Variations
Incorporate seasonal herbs such as fresh rosemary or thyme instead of Italian herbs during different seasons. During the fall, try adding a pinch of cinnamon or nutmeg to the garlic butter for a warm, cozy twist.
Allergen Information
This recipe contains dairy. To make it dairy-free, use a dairy-free cheese alternative and plant-based butter. Ensure that the biscuit dough is also dairy-free.
FAQ:
Can I use homemade biscuit dough instead of refrigerated dough?
Yes, you can use homemade biscuit dough. Just prepare the dough as you normally would and follow the same steps for adding cheese and baking.
What can I use instead of mozzarella cheese?
Cheddar, gouda, or pepper jack cheese are great alternatives. Choose any cheese that melts well and complements the garlic butter flavor.
How can I make these cheese bombs spicier?
Add a pinch of red pepper flakes to the garlic butter mixture or use a spicy cheese variety to increase the heat.
Can I freeze these cheese bombs?
Yes, you can freeze the unbaked cheese bombs. Place them on a baking sheet to freeze individually, then transfer them to a freezer bag. Bake from frozen, adding a few extra minutes to the baking time.
How do I reheat leftover cheese bombs?
Reheat in the oven at 350°F for about 5-10 minutes until heated through. This will help restore their crispness compared to reheating in a microwave.
Can I prepare these cheese bombs ahead of time?
Yes, you can prepare the cheese bombs up to a day in advance. Keep them in an airtight container in the refrigerator until ready to bake. Brush with garlic butter after baking.
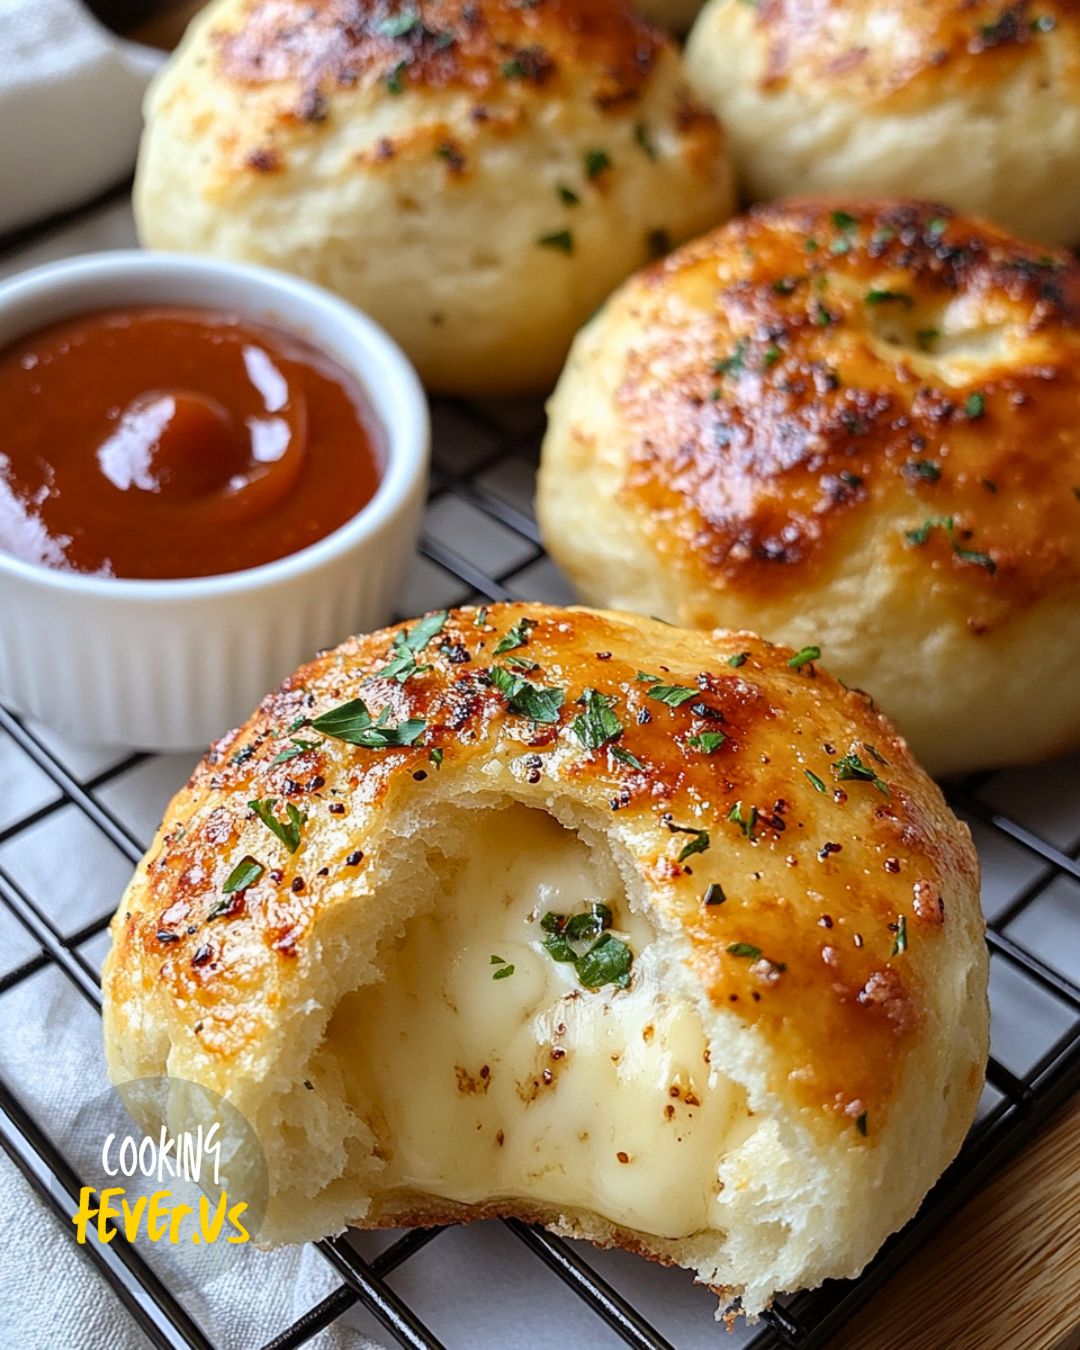
Pillsbury Biscuit Garlic Butter Cheese Bombs
Ingredients
- 1 16oz package of refrigerated biscuit dough (8 biscuits)
- 4 ounces shredded mozzarella cheese or diced string cheese
- 4 tbsp melted butter half a stick
- 1 tsp garlic powder
- 1 tsp Italian herbs
- a pinch of salt
Instructions
- Begin by preheating your oven to 400°F. Line a baking sheet with parchment paper.
- Take each biscuit and place a piece of cheese on top. You can use shredded mozzarella or small cubes of string cheese. Alternatively, cheddar cheese can be used if preferred.
- Encase the cheese with the biscuit dough, pinching the edges firmly to seal. Ensuring a tight seal is crucial to prevent the cheese from leaking out during baking.
- Arrange the dough balls with the sealed side down on the prepared baking sheet. Bake for 10-12 minutes or until the biscuits are golden brown. The baking time might be adjusted slightly depending on your oven, but aim for a longer bake to allow the cheese to melt thoroughly.
- While the biscuits are baking, melt the butter in the microwave. Stir in the garlic powder, Italian herbs, and salt until well combined.
- After removing the biscuits from the oven, brush each one generously with the garlic butter mixture.
- Serve the biscuits warm for the best taste. Enjoy!
