Share with your friends!
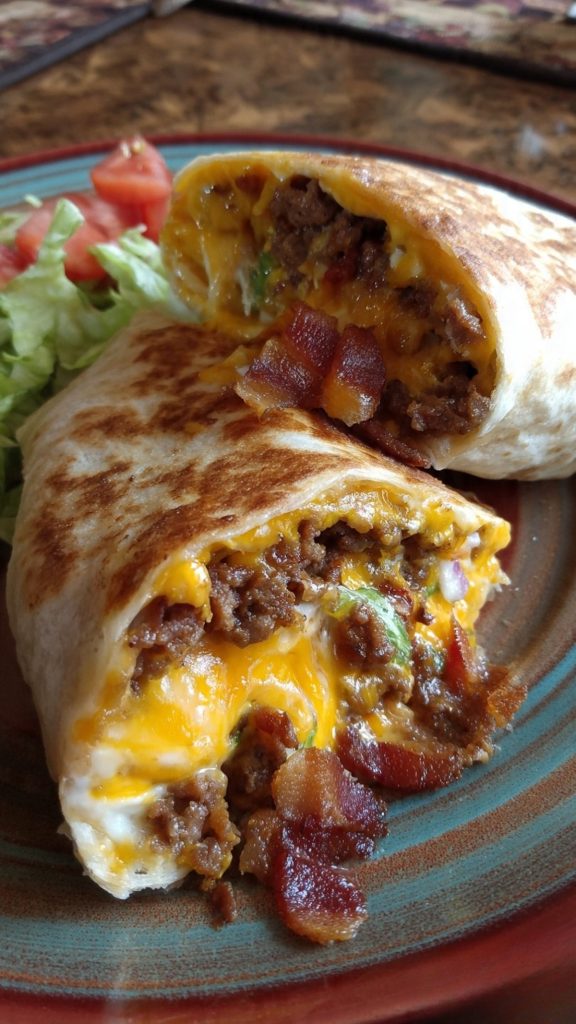
I landed on this loaded bacon cheeseburger burrito during a week when I wanted takeout-level comfort without wrecking my budget or my kitchen. I’d been craving a messy diner-style bacon cheeseburger, but I also wanted something I could pick up, eat on the couch, and clean up in one go. So I started folding everything I love about a burger into a single skillet and one wrap.
This recipe leans hard on ground beef, bacon, and classic burger toppings, but keeps the process simple: one pan, quick prep, and minimal waste. Leftover lettuce, tomato, and pickles slide right into the filling, and the beef mixture is built to stay juicy without extra sauces or complicated steps. If you like big flavor, but don’t want to babysit three different pans, this loaded bacon cheeseburger burrito hits the sweet spot.
Loaded Bacon Cheeseburger Burrito in Minutes
Click here to get printable version
Gather These
- 1 lb (500 g) ground beef, 10–12% fat
- 1/2 cup (125 ml) beef stock
- 1 tbsp Worcestershire sauce
- 1 tsp cornstarch or cornflour
- 1/2 tsp garlic powder
- 1/2 tsp salt
- 1/4 tsp black pepper
- Olive oil or reserved bacon fat, as needed
- 4 large flour tortillas, warmed
- 8 rashers bacon, cooked to your preferred crispness
- 8 slices American or burger cheese
- 1/4 head lettuce, shredded
- 1 medium tomato, diced
- 1/2 medium white onion, finely diced or minced
- 4 tbsp diced pickles
- 4 tbsp burger sauce (or your favorite light mayo-ketchup blend)
Steps
- Set a large pan over medium heat and add a small drizzle of olive oil or a spoonful of leftover bacon fat. Add the ground beef and break it up with a wooden spoon into small, even pieces. Cook, stirring occasionally, until it’s mostly browned. If there’s a lot of grease, carefully spoon off the excess so the beef doesn’t feel heavy.
- Season the beef with salt, garlic powder, and black pepper. Keep cooking for another couple of minutes so it browns lightly. In a small bowl or cup, stir the cornstarch into the beef stock until completely smooth, then pour it into the pan along with the Worcestershire sauce. Cook, stirring, until the liquid thickens and clings to the meat. The beef should look juicy and glossy, not soupy. Turn off the heat.
- Lay one warm tortilla on a board or clean counter. Arrange a strip of shredded lettuce across the lower third. Add a spoonful of diced pickles, onion, and tomato on top, then drizzle over about 1 tbsp of burger sauce. Layer 2 rashers of bacon over the salad, then add a generous scoop of the hot beef. Finish with 2 slices of cheese laid across the top so they start to melt.
- To wrap, fold the bottom edge of the tortilla tightly up and over the filling. Fold in both sides, pulling them snug so nothing can escape. Roll forward, keeping everything tight, until you have a compact burrito. Repeat with the remaining tortillas and filling. A tight roll is key so the wraps don’t burst when you crisp them.
- Optional but recommended: Heat a dry griddle pan or skillet over high heat. Place each burrito seam-side-down in the pan. If you want extra insurance, tuck a few small shreds of cheese along the seam so they melt and act as “glue.” Cook for 1–2 minutes per side, turning until the tortilla is golden, lightly charred, and crisp. Serve hot.
Getting Beef Extra Juicy
Good texture starts with the right fat level and heat. Aim for 10–12% fat ground beef: lean enough to stay light, but with enough richness that you don’t need extra oil or heavy sauces. Cook over medium heat, not high. If the pan is smoking, it’s too hot and the beef will dry out before it absorbs flavor. The beef stock and cornstarch combo creates a light, glossy coating that locks in moisture without turning the filling into gravy. Stir just enough to break up big chunks, but don’t overwork it or it can go crumbly. For a lighter spin, you can use lean ground turkey or chicken and swap beef stock for low-sodium chicken stock; just keep the same cornstarch method so the meat still ends up juicy and satisfying.
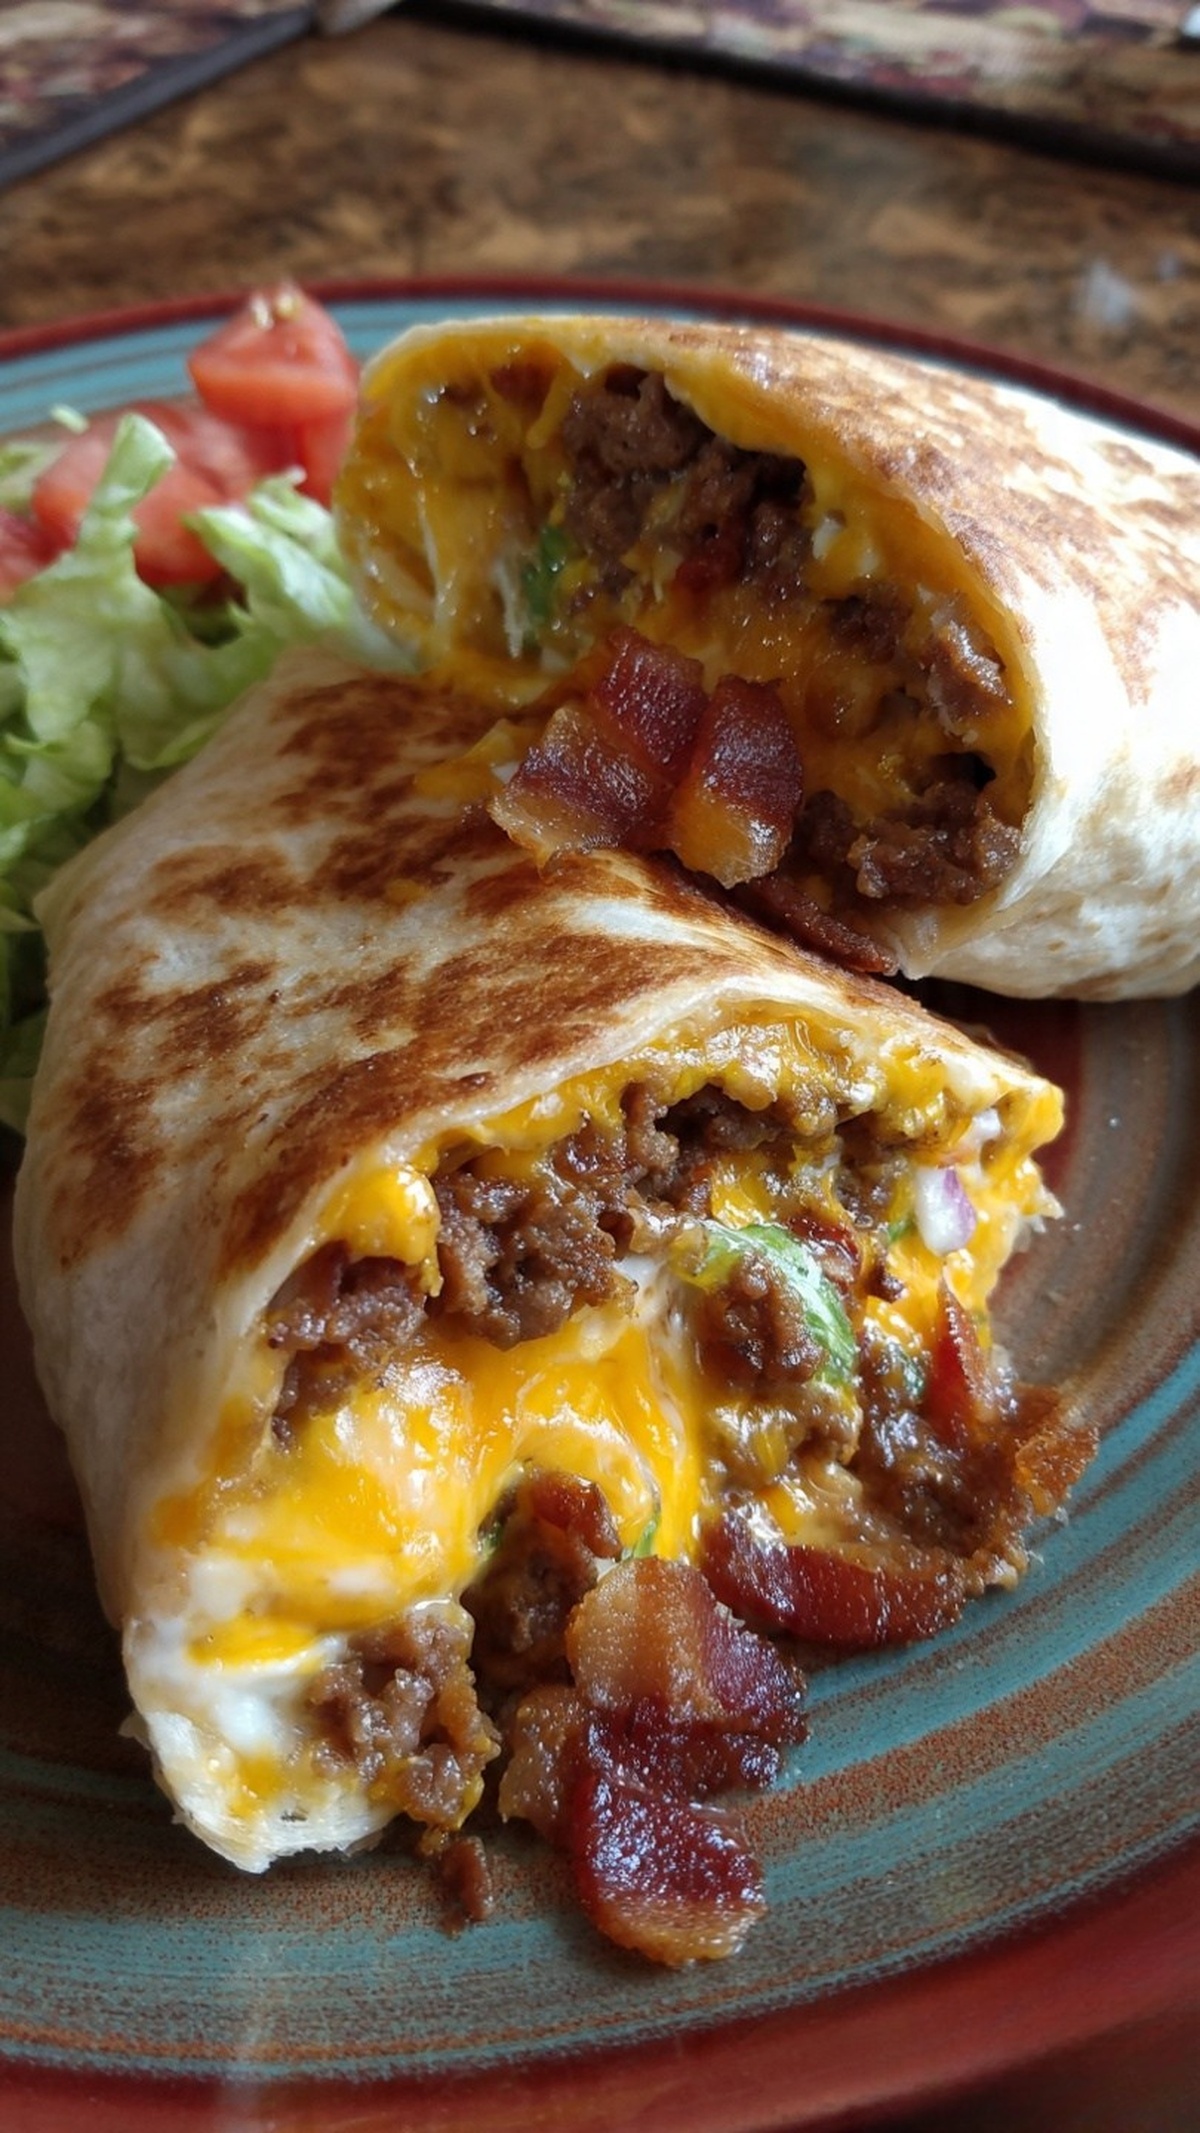
Crisping and Sealing the Wraps
The final sear turns this from a basic wrap into something that feels like a grilled handheld burger. The key is a very hot, dry pan and well-warmed tortillas before you fill. Cold tortillas crack and leak. Once rolled, make sure the seam is firmly pressed down on the board before it ever hits the heat. Seam-side-down goes into the pan first so it seals. You don’t need extra oil; the residual fat from the beef and bacon is usually enough to crisp the outside without greasiness. If your wraps tend to open, press them gently with a spatula while they brown, or add a tiny bit of shredded cheese along the seam as edible glue. This step only takes a couple of minutes and keeps everything tidy, portable, and easy to reheat.
Frequently Asked Questions (FAQ)
How can I make this loaded bacon cheeseburger burrito a bit lighter without losing flavor?
You can trim the calories and sodium without sacrificing flavor by making a few smart swaps. Use 90–93% lean ground beef and cook it gently so it doesn’t dry out; the stock-and-cornstarch mixture will still keep it moist. Choose reduced-sodium beef stock and go lighter on added salt. Swap standard bacon for center-cut or turkey bacon, and use 1 slice of cheese per wrap instead of two. For the sauce, mix light mayo with ketchup and a splash of pickle juice instead of bottled burger sauce. Keep plenty of lettuce, onion, tomato, and pickles in each burrito so it still feels big and satisfying.
What’s the best way to prep and store these for quick meals during the week?
For meal prep, cook the beef and bacon ahead of time and store them separately in airtight containers in the fridge for up to 3–4 days. Keep the lettuce, tomato, and onion prepped in their own containers so they stay crisp. When you’re ready to eat, reheat the beef in a skillet with a splash of stock or water until it’s just hot and juicy again, then assemble fresh wraps and crisp them in a pan. If you want fully assembled burritos ready to go, skip the lettuce and tomato inside (they can go soggy), wrap tightly, refrigerate up to 2 days, then reheat and add a side salad when serving.
Loaded Bacon Cheeseburger Burrito
Equipment
- large skillet
- Griddle (optional)
Ingredients
Beef:
- 1 lb / 500 g ground beef 10–12% fat
- 1/2 cup / 125 ml beef stock
- 1 tbsp Worcestershire sauce
- 1 tsp cornstarch / cornflour mixed into stock
- 1/2 tsp garlic powder
- 1/2 tsp salt
- 1/4 tsp black pepper
- as needed olive oil or leftover bacon fat for frying
Wraps and Toppings:
- 4 large flour tortillas warmed
- 8 rashers bacon cooked to preference
- 8 slices American / burger cheese
- 1/4 head lettuce shredded
- 1 medium tomato diced
- 1/2 medium white onion finely diced or minced
- 4 tbsp diced pickles
- 4 tbsp burger sauce
Instructions
- Gather all ingredients, warm the tortillas, and cook or crisp the bacon to your liking before assembling.
For the Beef:
- Heat a large skillet over medium and add a splash of olive oil or reserved bacon fat. Crumble in the ground beef and break it up with a spoon, cooking until it is nearly browned throughout. If there is excess fat, spoon or drain some off.
- Season the meat with salt, garlic powder and black pepper. Stir the cornstarch into the beef stock, pour it into the pan along with the Worcestershire sauce, and continue cooking until the liquid thickens and clings to the beef — moist but not soupy.
For Assembling the Wraps:
- Lay a warmed tortilla on a flat surface. Place a small handful of shredded lettuce in the lower center, then add diced pickles, diced tomato and minced onion. Drizzle with burger sauce.
- Top the vegetables with two rashers of bacon, a portion of the cooked beef, and finish with two slices of American cheese.
- Fold the bottom edge of the tortilla up over the fillings, bring the two sides in toward the center, then roll tightly to close the burrito. Tuck and press as you roll to keep it secure.
- Optional: Heat a griddle or skillet over high heat and sear the burritos, rotating until the exterior is crisp and charred. To prevent the seam from opening, add a tiny bit of cheese at the seam and grill seam-side-down first so it melts and seals.