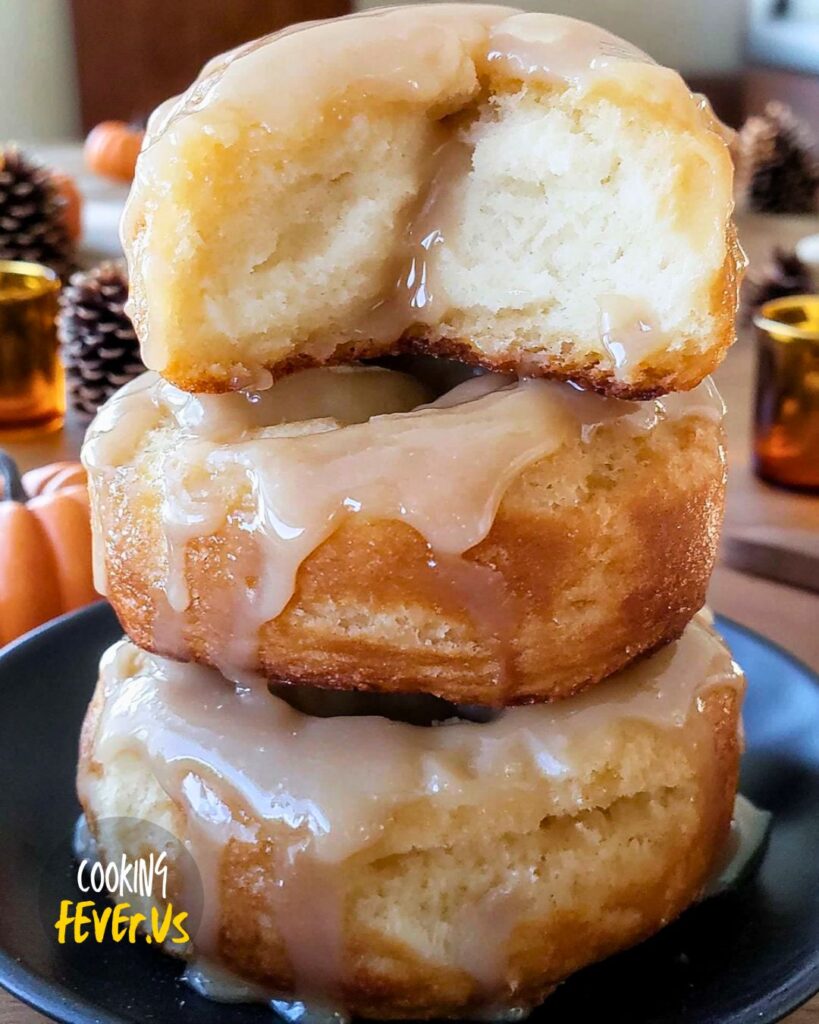
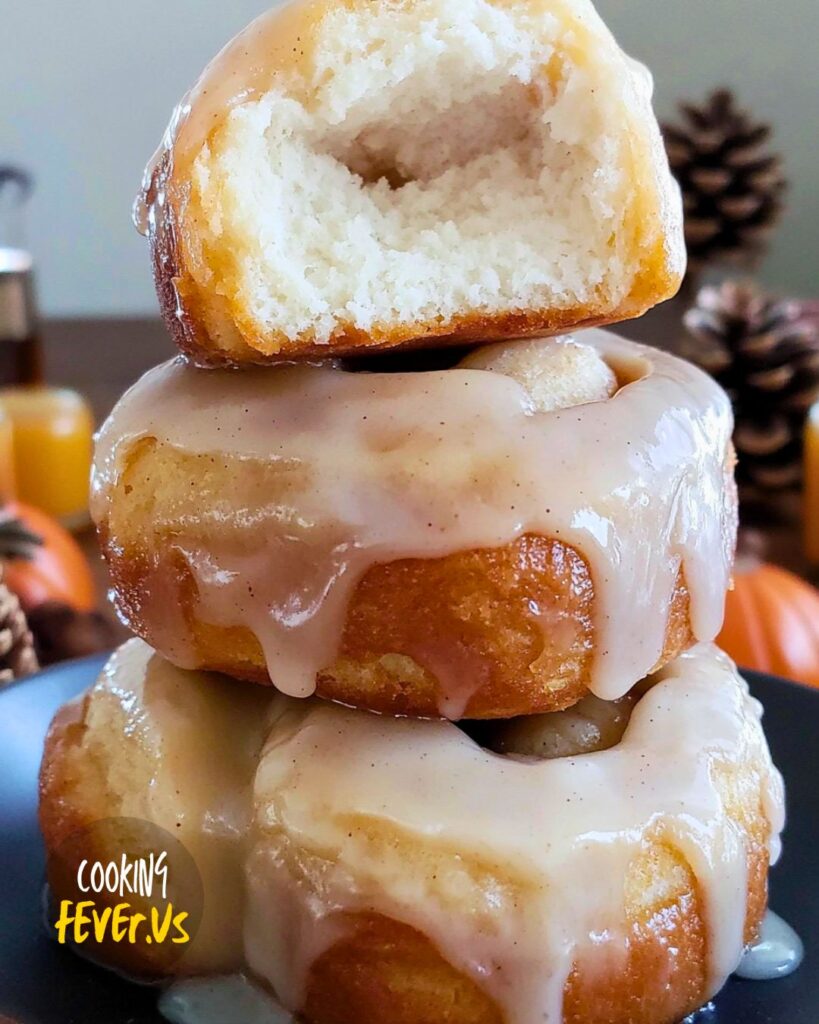
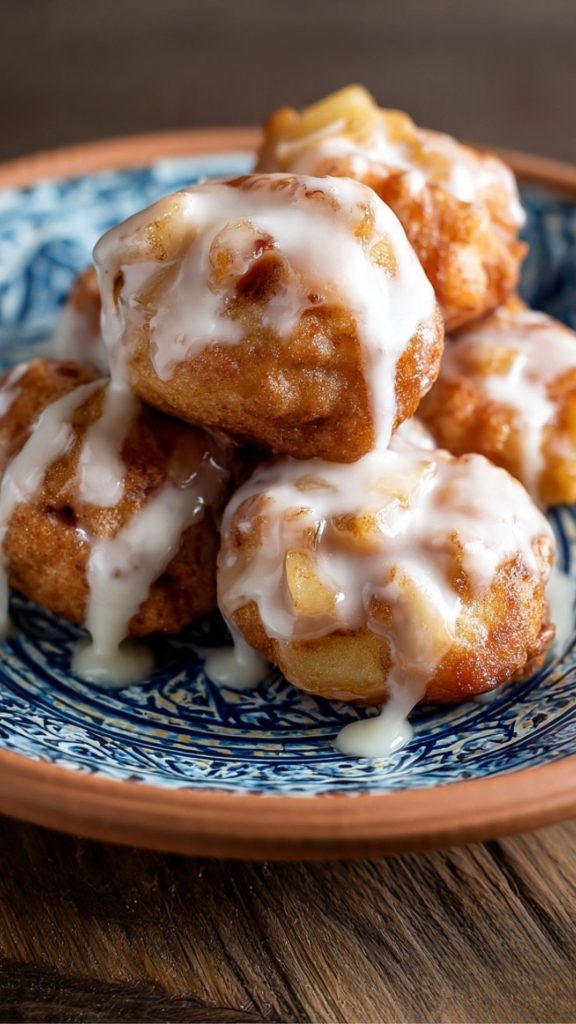
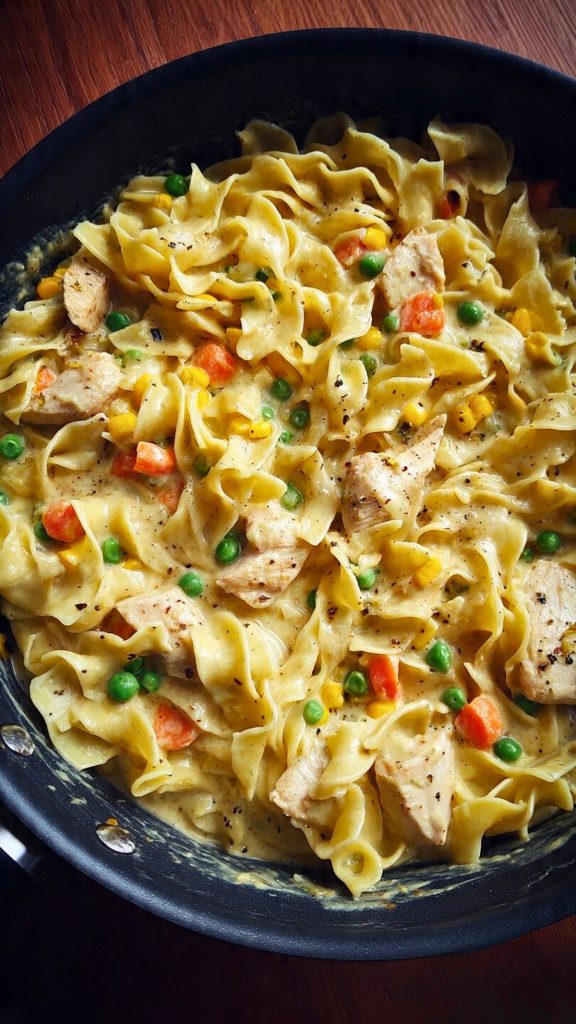
Believe me, there’s something magical about creating something from simple ingredients and watching it transform into these delightful treats. You don’t need to be a professional baker to whip these up. Even when you’re juggling household chores or helping the kids with their homework, these honey buns fit right in with their ease and simplicity.
The beauty of this recipe is in its heartwarming familiarity. It’s like an old friend who never fails to cheer you up. Each ingredient adds its unique touch; the cinnamon gives a warm hug in every bite, while the honey adds that sweet little note of happiness. As a mom, I love seeing my family gather around the table with smiles and sticky fingers, savoring each mouthful. It’s these moments that make the hustle and bustle of everyday life so worthwhile.
So, gather your ingredients, roll up your sleeves, and let’s dive into making these irresistible homemade honey buns that your family will be raving about. Trust me; they’ll be asking for them time and time again.
How to Make Homemade Honey Buns
Click here to get printable version
Ingredients:
- 2¼ cups all-purpose flour
- ¼ cup granulated sugar
- ½ teaspoon salt
- ⅔ cup whole milk
- 1 packet instant yeast
- ⅓ cup melted butter (cooled)
- 1 large egg
- 2 teaspoons vanilla extract
- 1½ teaspoons vegetable oil
- 2 teaspoons ground cinnamon
- 2-2½ cups vegetable oil (for frying)
- 3 tablespoons melted butter
- 1¼ cups powdered sugar (sifted)
- 2 tablespoons milk
- 2 teaspoons honey
- ½ teaspoon vanilla extract
Directions:
- In the bowl of a stand mixer fitted with a dough hook, blend the flour, sugar, and salt together.
- Microwave the milk in a heatproof bowl till it reaches about 110°F.
- To the warm milk, add the yeast, melted butter, egg, and vanilla extract, whisking until smoothly blended.
- Gradually pour the wet ingredients into the dry mix in the stand mixer and allow it to knead for approximately 10 minutes on medium speed. Make sure to scrape the bowl sides to ensure thorough mixing.
- Lightly oil a large bowl using the vegetable oil.
- Form the dough into a ball and place it in the oiled bowl, covering it with plastic wrap. Let it rest for approximately 1½ hours until it doubles in volume.
- Gently deflate the risen dough and spread it onto a flour-dusted surface.
- Roll the dough out to a rectangular shape measuring roughly 15 inches by 8 inches.
- Distribute the ground cinnamon evenly over the dough.
- From one long side, roll the dough into a tight log. Seal the edge with a bit of water by pinching.
- With an unscented dental floss, divide the log into 1-inch rounds.
- Arrange the rolls on waxed paper, spray the tops with cooking spray, and cover. Allow a rise of another 30 minutes.
- Heat vegetable oil in a large skillet over medium warmth.
- Fry the buns two at a time until they are golden on both sides.
- Transfer the cooked buns to paper towels to eliminate any leftover oil.
- Whisk the icing ingredients in a separate bowl until silky.
- Dip each bun top into the icing and then place on parchment or waxed paper to set. Enjoy!
Storing Suggestion:
To retain the freshness of these homemade honey buns, store them in an airtight container at room temperature for up to two days. If you wish to keep them longer, they can be refrigerated for up to a week or even frozen for up to three months. Thaw at room temperature before serving.
Cooking Tips:
For a soft texture of the buns, make sure not to overwork the dough. If you’re running low on time, skip the second rise for a slightly denser but delicious bite. To enhance the flavor, add a pinch of nutmeg or cardamom to the cinnamon filling.
Serving Suggestions:
These honey buns are delightful when paired with a hot cup of coffee, tea, or a glass of cold milk. Garnish with a sprinkle of pistachios or almonds for some added crunch. They also make a lovely addition to brunch with fresh fruit or a light yogurt parfait.
Ingredient Substitutions:
If you’re missing a few ingredients, no worries! Substitute whole milk with almond or soy milk for a dairy-free version. Replace regular butter with coconut oil for a tropical flavor twist. Agave syrup or maple syrup can stand in for honey if you’re out of it.
Seasonal Variations:
In the fall, try adding pumpkin spice to the cinnamon filling for a festive touch. During summer, incorporate a bit of lemon zest into the icing to brighten up the flavor. Winter calls for a pinch of cocoa powder in the dough for a rich chocolatey note.
FAQs:
Can I make these buns without a stand mixer?
Absolutely! You can knead the dough by hand on a floured surface. It might require a bit more arm work, but it’s a great way to involve kids or just enjoy the process of baking.
Is it possible to bake these buns instead of frying?
Yes, you can bake the honey buns. Preheat your oven to 350°F (175°C) and bake the buns on a greased baking sheet for about 20 minutes, or until golden brown.
What’s the best way to ensure the dough rises properly?
For a successful rise, make sure your yeast is fresh and the milk is at the correct temperature – around 110°F. Also, place the bowl in a warm, draft-free area.
Can I prepare the dough in advance?
You can prepare the dough the night before. Once formed into a log, wrap it tightly in plastic wrap and store it in the fridge. The next day, let it come to room temperature before proceeding with cutting and frying.
Are there any toppings other than icing I can use?
Sure thing! Try using a simple glaze made from powdered sugar and lemon juice for a tangy twist. You could also dust the tops with cinnamon sugar for a bit more spice.
What’s the secret to a crispy exterior?
To achieve a crispy exterior, ensure the oil is hot enough before frying (around 350°F). Avoid crowding the pan, which can lower the oil temperature and lead to soggy buns.
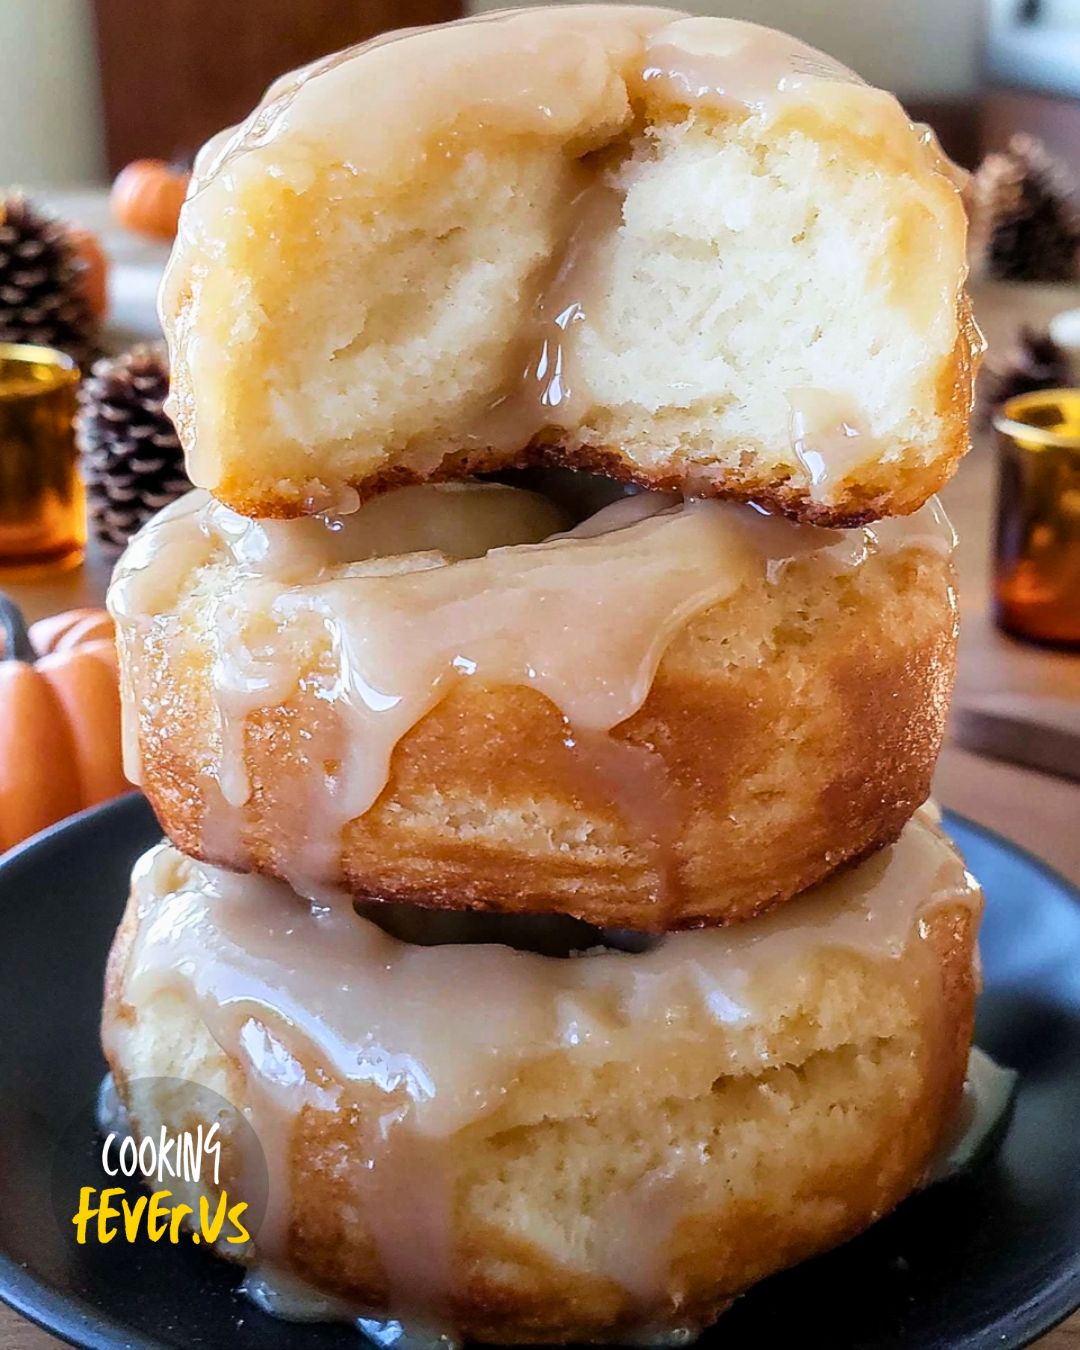
Homemade Honey Buns
Ingredients
- 2¼ cups all-purpose flour
- ¼ cup granulated sugar
- ½ teaspoon salt
- ⅔ cup whole milk
- 1 packet instant yeast
- ⅓ cup melted butter (cooled)
- 1 large egg
- 2 teaspoons vanilla extract
- 1½ teaspoons vegetable oil
- 2-2½ cups vegetable oil (for frying)
- 3 tablespoons melted butter
- 1¼ cups powdered sugar (sifted)
- 2 tablespoons milk
- 2 teaspoons honey
- ½ teaspoon vanilla extract
Instructions
- In a stand mixer with a dough hook, combine flour, granulated sugar, and salt.
- Heat the milk in a microwave-safe bowl for about 30 seconds until it reaches 110°F.
- Add the instant yeast, melted butter, large egg, and vanilla to the warm milk and whisk until combined.
- Pour the wet mixture into the stand mixer and knead on medium for about 10 minutes. Make sure all ingredients are mixed well by scraping down the sides.
- Grease a large bowl with vegetable oil.
- Remove the dough, shape it into a ball, and place it in the oiled bowl. Cover with plastic wrap and let it rise for about 1½ hours, or until it doubles in size.
- After rising, press down on the dough gently and transfer it to a floured surface.
- Roll the dough into a rectangle of about 15 inches by 8 inches.
- Evenly sprinkle with ground cinnamon across the top.
- Start from one long side and roll the dough tightly into a log shape. Moisten the edge with water to seal it by pinching the seam.
- Cut the dough log into 1-inch pieces using unscented dental floss.
- Place the buns on wax paper and lightly spray the tops with cooking spray. Cover with plastic wrap and let rise for an additional 30 minutes.
- In a large pan, heat vegetable oil over medium heat.
- Fry each bun in hot oil, a couple at a time, turning until golden brown on both sides.
- Transfer the fried buns to paper towels to drain excess oil.
- While cooling, mix the icing ingredients in a small bowl until smooth.
- Dip the warm tops of the buns into the icing, then place them on wax or parchment paper to let the icing set. Enjoy!
