Share with your friends!
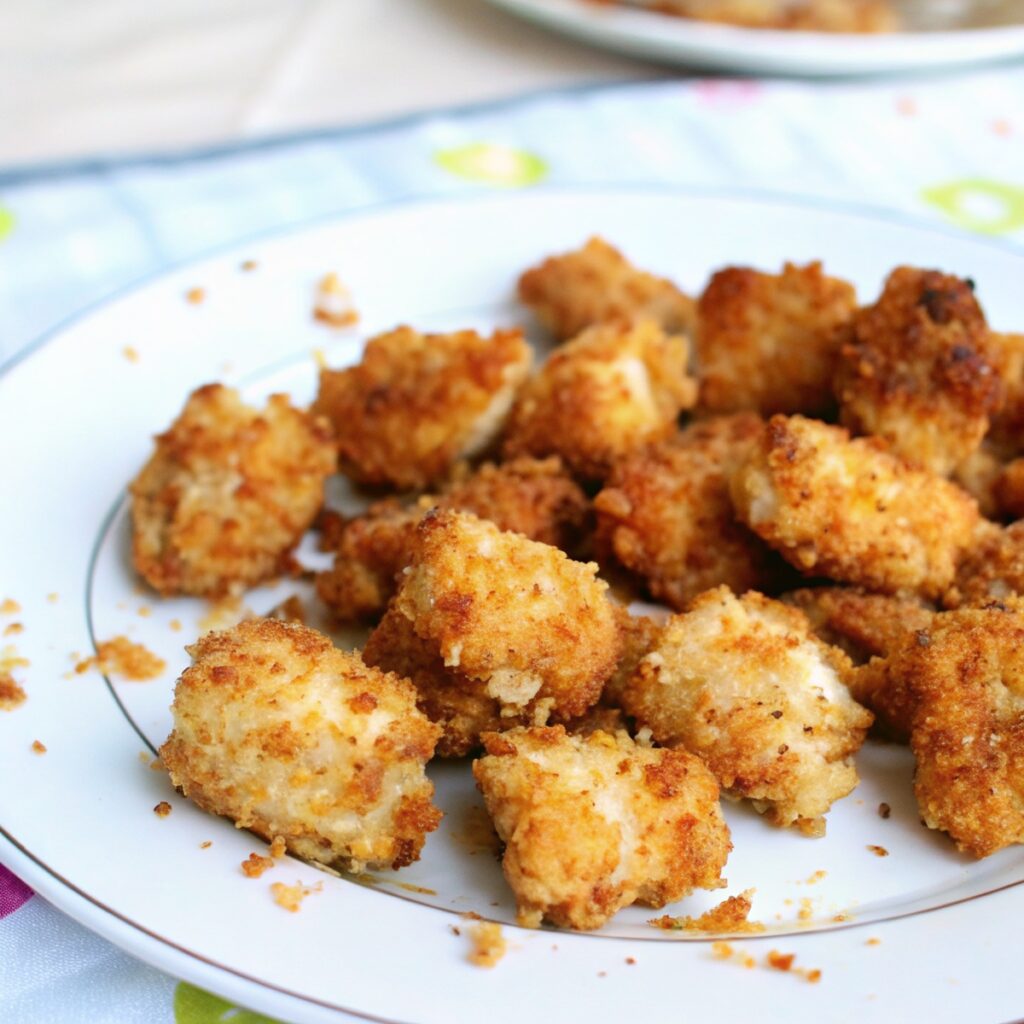
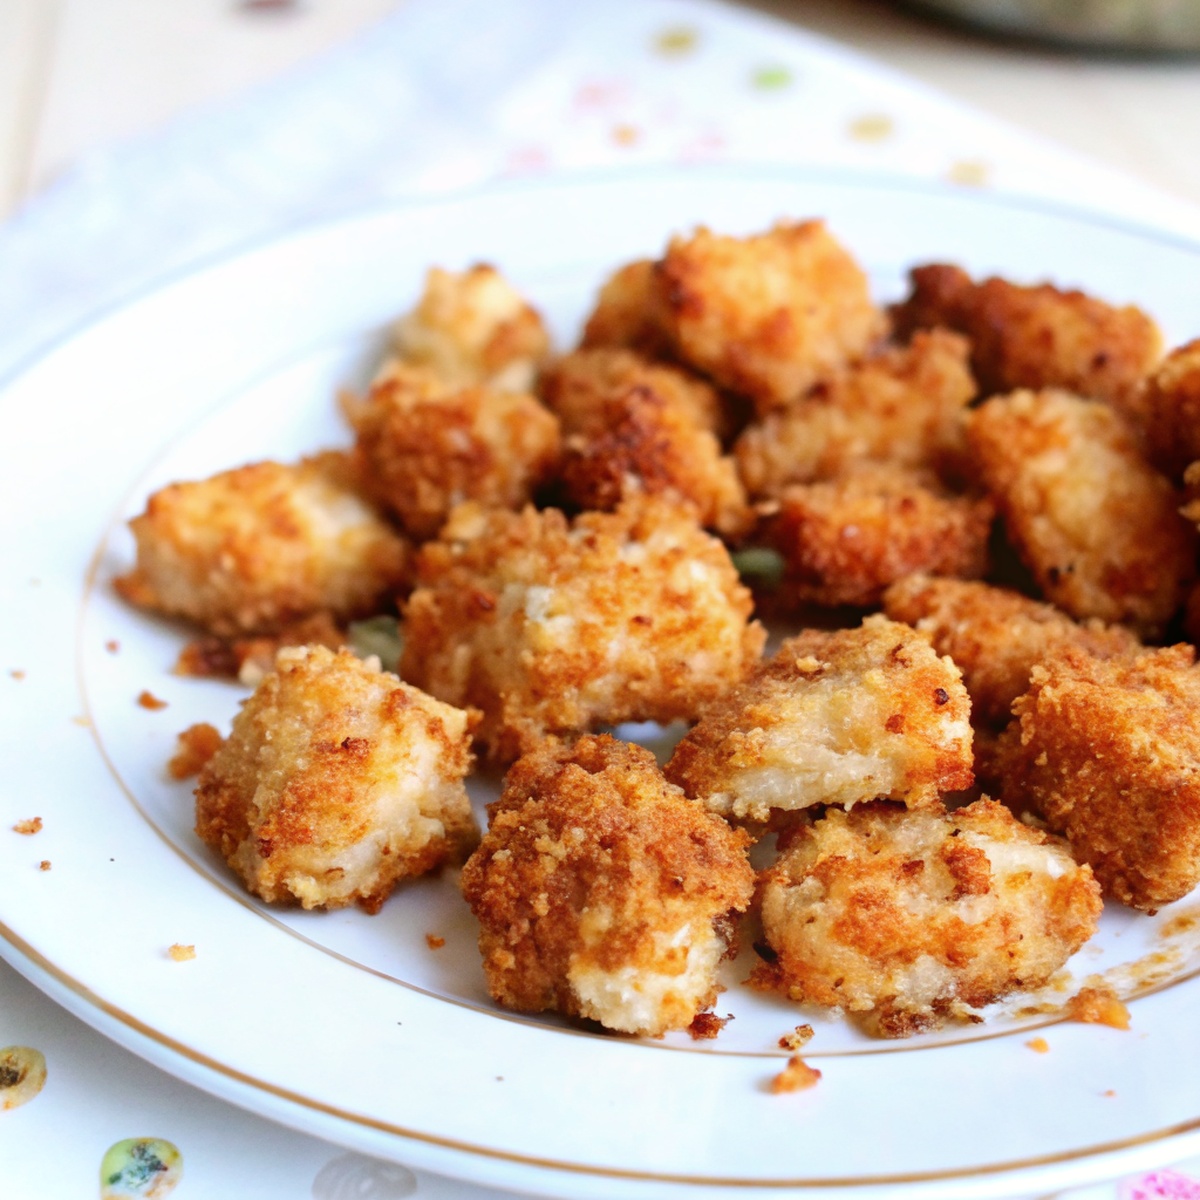
There is a special alchemy that happens in the kitchen when you set out to make homemade chicken nuggets. I remember the first time I attempted this recipe—my goal was simple: a golden, crunchy exterior with tender, juicy chicken inside, something leagues beyond the soggy, boxed nuggets of childhood. The scent of toasted Panko and Parmesan wafting from the oven was an instant comfort, promising a meal that was both nourishing and deeply satisfying. As a devoted home baker, the pursuit of the perfect crumb is my art, and the sizzle of butter, the rough texture of crispy breadcrumbs, and the gentle heat of parsley and garlic all merge together in a harmonious, mouthwatering whole. Baking, for me, is as much about creating memories as it is about technique. Whether I’m preparing these nuggets for a lively family dinner or as a cozy weekend treat, the joy is in the details—the evenness of the coating, the golden sheen, the satisfying crunch with every bite. There is a quiet pride in pulling out a tray of beautifully browned, homemade chicken nuggets, knowing every step was guided by care and precision. This recipe is more than just a healthier alternative to takeout; it is a celebration of what home baking can achieve: flavor, texture, and a sense of accomplishment in every batch.
How to Bake the Perfect Crispy Baked Chicken Nuggets
Click here to get printable version
Baker’s Essentials: Tools & Ingredients (Measured Precisely)
- Tools:
- Baking sheet
- Wire rack (optional, for extra crispiness)
- Mixing bowls (2)
- Measuring cups and spoons
- Meat mallet or rolling pin
- Plastic wrap
- Tongs or fork
- Ingredients:
- 1 1/2 pounds chicken breast, cut into 1-inch cubes
- 1/2 cup butter, melted
- 1 teaspoon garlic salt
- 1/2 teaspoon ground black pepper
- 2 tablespoons fresh parsley, chopped (or 1 tablespoon dried parsley flakes)
- 1 cup Panko breadcrumbs
- 1/2 cup grated Parmesan cheese
The Baking Process: A Step-by-Step Guide
- Preheat your oven to 450°F (or set your air fryer to 375°F).
- Lay plastic wrap over your cutting board, place chicken breast on top, cover, and gently pound to 3/4-inch thickness. Cut into even 1-inch cubes for uniform baking.
- Spread Panko breadcrumbs on a baking sheet and toast for 5-7 minutes until light golden—this enhances crunch and flavor. Let cool slightly.
- In one bowl, combine melted butter, garlic salt, black pepper, and parsley. In another, mix toasted Panko with Parmesan cheese.
- Working quickly, toss chicken cubes in the butter mixture to coat each piece well (the butter should remain liquid). Dredge each piece in the Panko-Parmesan mixture, ensuring even coverage.
- Arrange nuggets on a baking sheet, leaving 2 inches between each. For maximum crispiness, use a wire rack over the sheet.
- Bake for 12-15 minutes on the middle rack. For extra crunch, finish on the top rack for the last 3 minutes, watching closely to prevent overbrowning.
- If air frying, cook in a single layer for 10 minutes, shake to turn, then air fry 2 minutes more until golden and crisp.
- Let rest for 2-3 minutes before serving. The exterior will stay crisp while juices redistribute inside.
Baking Science: Understanding Ingredient Swaps and Their Effects
Curious about customizing this recipe? You can substitute boneless, skinless chicken thighs for the breasts for a juicier, richer flavor. Try whole-wheat or gluten-free Panko for dietary needs, though note that these may brown a bit differently—keep an eye on the oven! Swapping butter for olive oil will add a subtle fruitiness and make the nuggets slightly lighter. For a dairy-free version, replace Parmesan with nutritional yeast and use plant-based butter. Each change alters texture and flavor: for example, skipping the toasting step results in less crunch, and using standard breadcrumbs instead of Panko creates a denser, less airy coating. Understanding these effects lets you bake confidently, no matter your ingredient list.
How to Glaze, Garnish, and Present Your Bake
Presentation elevates the humble nugget into a feast for the senses. Once baked, drizzle your nuggets with a touch of honey or brush with warm melted butter for extra sheen. Arrange them artfully on a platter, sprinkled with fresh parsley or chives. Serve with a variety of dips—think homemade honey mustard, tangy barbecue, or cooling ranch—to complement the crispy coating. For a playful touch, use parchment cones or mini baskets. Garnishes like lemon wedges or a scattering of microgreens can add color and brightness. Remember, we eat first with our eyes—take a moment to plate with as much care as you baked!
Keeping Your Nuggets Fresh: Best Storage Methods
To preserve that signature crisp, allow nuggets to cool completely before storing. Place them in a single layer in an airtight container, separating layers with parchment paper to prevent sticking. Refrigerate for up to three days. To reheat, spread nuggets on a wire rack over a baking sheet and bake at 400°F for 6-8 minutes; the oven restores their crunch far better than the microwave. For longer storage, freeze baked nuggets in a single layer, then transfer to a freezer bag—reheat from frozen in a hot oven for best results. Proper storage and reheating ensure your homemade nuggets retain their irresistible texture and flavor.
Common Baking Blunders to Avoid for This Recipe
Even simple recipes have their pitfalls! Avoid soggy nuggets by always toasting your Panko and never crowding the baking sheet—air circulation is key for crispiness. Don’t skip pounding the chicken; even thickness guarantees juicy, evenly cooked bites. Be sure to work quickly when coating with melted butter, as it will solidify if left too long. Overbaking dries out the chicken, so check at the earliest recommended time and use a thermometer (165°F internal temp). Finally, resist the urge to cut immediately—resting lets juices redistribute, keeping every nugget succulent.
Seasonal Fruit & Spice Variations for Your Chicken Nuggets
Take your nuggets on a seasonal adventure! In spring, try adding a teaspoon of lemon zest to the Panko for a bright, citrusy note. For summer, serve with a side of fresh peach or mango salsa. Autumn calls for a pinch of smoked paprika or ground sage in the breading, pairing perfectly with a honey mustard dip. In winter, mix a touch of rosemary and thyme into the coating, or serve with a festive cranberry BBQ sauce. Experimenting with herbs, spices, and seasonal sides keeps this classic feeling fresh all year round.
Your Baking Questions, Answered by a Pro:
Why are my chicken nuggets not getting crispy in the oven?
Likely causes include skipping the Panko toasting step, crowding the baking sheet, or not baking at a high enough temperature. Always use convection if available for best results, and ensure nuggets are spaced apart for airflow.
Can I substitute regular breadcrumbs for Panko?
Yes, but expect a denser, less airy coating. Panko absorbs less moisture, resulting in a lighter, crunchier crust, while traditional breadcrumbs lead to a tighter, chewier exterior.
Is it necessary to use melted butter, or can I substitute oil?
Melted butter provides rich flavor and helps the coating adhere, but you can substitute a neutral oil or olive oil for a lighter taste. The nuggets may be slightly less golden and not as rich, but still delicious!
How do I ensure my chicken cooks through without drying out?
Pounding the chicken to even thickness and cutting into uniform cubes are key. Bake only until the internal temperature reaches 165°F; overbaking causes dryness.
Can I prepare these nuggets ahead of time?
Yes! Coat and assemble the nuggets, then refrigerate (uncooked) up to 8 hours ahead. Let them sit at room temperature for 15 minutes before baking for even browning.
What dipping sauces pair best with these homemade nuggets?
Classics like ranch, honey mustard, and BBQ are always favorites. For a twist, try garlic aioli, spicy sriracha mayo, or a tangy yogurt-based dip. Homemade sauces can elevate the meal and complement the crispy coating beautifully.
Crispy Baked Chicken Nuggets
Equipment
- oven or air fryer
- meat mallet or rolling pin
Ingredients
- 1 1/2 pounds chicken breast cut into cubes
- 1/2 cup butter melted
- 1 teaspoon garlic salt
- 1/2 teaspoon ground black pepper
- 2 tablespoons fresh parsley chopped (or 1 tablespoon dried parsley flakes)
- 1 cup Panko breadcrumbs
- 1/2 cup grated Parmesan cheese
Instructions
- Preheat your oven to 450°F or set the air fryer to 375°F if you choose that option.
- Lay plastic wrap over your cutting board and place the chicken breast on top. Fold the wrap over the chicken and gently pound it to a thickness of about 3/4 inch. Remove the wrap and cut the chicken into 1-inch cubes.
- Spread Panko breadcrumbs on a baking sheet and toast them in the oven or air fryer for 5 to 7 minutes until they become light golden brown.
- In a bowl, combine the melted butter, garlic salt, black pepper, and parsley until thoroughly mixed. In another bowl, combine the toasted Panko crumbs with the Parmesan cheese.
- Quickly coat the chicken cubes in the butter mixture, ensuring they are evenly covered. Then, dredge each piece in the Panko-Parmesan mixture until they're fully coated. Arrange them on a baking sheet leaving around 2 inches of space between each nugget.
- Bake the nuggets on the middle rack of your preheated oven for 12 to 15 minutes. For extra crispiness, move them to the top rack for the last 3 minutes.
- If using an air fryer, arrange the nuggets in a single layer (spray the basket lightly if desired). Cook for 10 minutes, shake the basket to turn the nuggets, and cook an additional 2 minutes until they're crispy.
- Let the nuggets rest for 2 to 3 minutes before serving; this will help keep them juicy inside. Enjoy your homemade crispy chicken nuggets with your favorite dipping sauce.