Share with your friends!
It’s 5:30 pm. You just walked in the door, the kids are hungry, your to-do list is still a mile long—and someone (maybe you?) deserves a treat. But dessert on a weeknight? Smacks of “too much work,” right? Trust me, I’ve been there. On a crazy Wednesday not long ago, between soccer carpools and late meetings, I whipped up these Banana Pudding Cheesecake Bars in just 20 minutes of hands-on time. When we finally got to enjoy them after dinner, the mood at the table did a total 180. They’re sweet, creamy, and require zero baking—total lifesavers for those busy days.
This recipe is my not-so-secret solution for the “what’s for dessert?” panic. It’s a crowd-pleaser, easy enough for beginners, and fuels my favorite kind of kitchen magic: minimal effort, maximum happiness. Everything about these bars screams comfort and nostalgia (hello, banana pudding AND cheesecake!) but with the speed and simplicity that real life demands. If you’re juggling work, family, and your own sanity, these bars are here to help. Make them the night before, or in the morning while the coffee brews—they’ll be ready and waiting whenever you need a sweet moment to cap off a long day.
Your New Favorite Weeknight Banana Pudding Cheesecake Bars
Click here to get printable version
What to Grab (The Shopping List)
- 2 cups Nilla wafers, crushed
- 2 tablespoons brown sugar
- A pinch of salt
- 1/2 cup unsalted butter, melted
- 16 ounces cream cheese, softened
- 3/4 cup powdered sugar
- 3 tablespoons sour cream
- 1 teaspoon vanilla extract
- 1 (3.4 oz) package instant banana pudding mix
- 1 cup heavy cream
- Whipped cream (for topping)
- Fresh banana slices (for topping)
- Extra Nilla wafers (for topping)
The Game Plan (Step-by-Step)
- Line a 9×9-inch baking pan with parchment paper. In a medium bowl, combine crushed Nilla wafers, brown sugar, salt, and melted butter. Press evenly into the pan to form the crust, then chill in the fridge.
- In a large bowl, beat softened cream cheese and powdered sugar until smooth and creamy. Add sour cream and vanilla extract; mix well.
- Add instant banana pudding mix and beat until fully blended, scraping down the sides as needed.
- Pour in heavy cream and whip until the filling is thick and lush, like cheesecake.
- Spread the filling over the chilled crust. Cover and refrigerate at least 6 hours (or overnight).
- When ready to serve, lift the bars out using the parchment. Cut into squares and top with whipped cream, banana slices, and extra Nilla wafers. Enjoy!
Pantry Raid: Easy Ingredient Swaps
Missing something? No worries! If you’re out of Nilla wafers, try graham crackers or shortbread cookies for the crust. No brown sugar? White sugar works fine in a pinch. Greek yogurt can swap for sour cream. Instant vanilla pudding plus a splash of banana extract will mimic the banana flavor if that’s all you have. And if you can’t find heavy cream, cold whipping cream or even a tub of store-bought whipped topping (folded in) can do the trick for the filling’s fluffiness.
Make It a Meal in Minutes: Quick Sides
Turn these cheesecake bars into a full-on weeknight celebration! Serve them after a simple sheet pan dinner or with a platter of fresh berries for a casual dessert “board.” For a fun family night, let everyone customize their own bar with chocolate chips, caramel drizzle, or extra fruit. If you’re hosting, pair with iced coffee or kid-friendly banana milkshakes for an easy, memorable treat spread.
Meal Prep Magic: Storing & Reheating Tips
These bars are made for meal prep! Store them in an airtight container in the fridge for up to 4 days—they actually get creamier over time. If you want to freeze, cut bars first, then wrap each in plastic wrap and stash in a freezer-safe box for up to a month. Thaw overnight in the fridge. Top with bananas and whipped cream just before serving to keep things fresh and picture-perfect.
Time-Saving Hacks for This Recipe
Speed up your process by crushing cookies in a zip-top bag with a rolling pin—no food processor needed. Use a stand mixer for hands-free filling prep, or even grab pre-crushed cookie crumbs if your store carries them. For a super-fast crust, skip the chill and just pop it in the freezer while you prep the filling. Want individual servings? Layer everything in jars or cups—no slicing required!
Use Up Your CSA Box: Seasonal Add-Ins
Give these bars a seasonal twist! In spring, swirl in a little strawberry puree or top with sliced fresh berries. Summer? A layer of grilled peaches or a sprinkle of toasted coconut makes them pop. In fall, add a dusting of cinnamon or fold in diced apples sautéed with brown sugar. For winter, try chocolate shavings or a drizzle of caramel sauce—these bars are endlessly adaptable to what’s fresh and on hand!
Quick Questions, Simple Answers:
Can I make parts of this recipe ahead of time?
Absolutely! The crust and filling can be made the night before or even a full day in advance. Just wait to add the fresh banana slices and whipped cream until right before serving for the best texture and appearance. This makes these bars perfect for prepping during a free moment and assembling quickly when you need them.
How can I make this dish more kid-friendly?
Banana Pudding Cheesecake Bars are already a big hit with kids thanks to the creamy filling and cookie crust. For extra fun, let little ones help crush the cookies and sprinkle on the toppings. If your kids don’t love banana, use instant vanilla pudding mix instead, or offer an array of toppings so everyone can customize their squares.
What’s the best way to double this recipe for a larger crowd?
Easy! Simply double all the ingredients and use a 9×13-inch pan instead of a 9×9. The bars will be slightly thicker, so you may want to chill them overnight to ensure they set firmly. When serving, cut into smaller squares for bite-size treats that are perfect for sharing at potlucks or gatherings.
Will the bananas turn brown if I make these ahead?
To keep banana slices looking fresh, add them just before serving. The pudding-flavored filling itself won’t brown, and you can brush banana slices with a little lemon juice if you must prep a bit earlier. Avoid assembling the full topping too far in advance for best visual appeal and taste.
Can I use a different pudding flavor?
Definitely! While banana pudding brings that nostalgic flavor, vanilla, white chocolate, or even butterscotch pudding mixes all work well here. This is a great way to tailor the bars to your family’s tastes or use what you already have in your pantry. Just keep the ratios the same for best results.
How do I keep the crust from crumbling?
Be sure to press the crust firmly into the pan with the bottom of a measuring cup or glass. Chilling the crust while you prepare the filling helps it set and hold together. If you find it’s still crumbly, a touch more melted butter (1-2 tablespoons) will help bind the crumbs without making the base greasy.
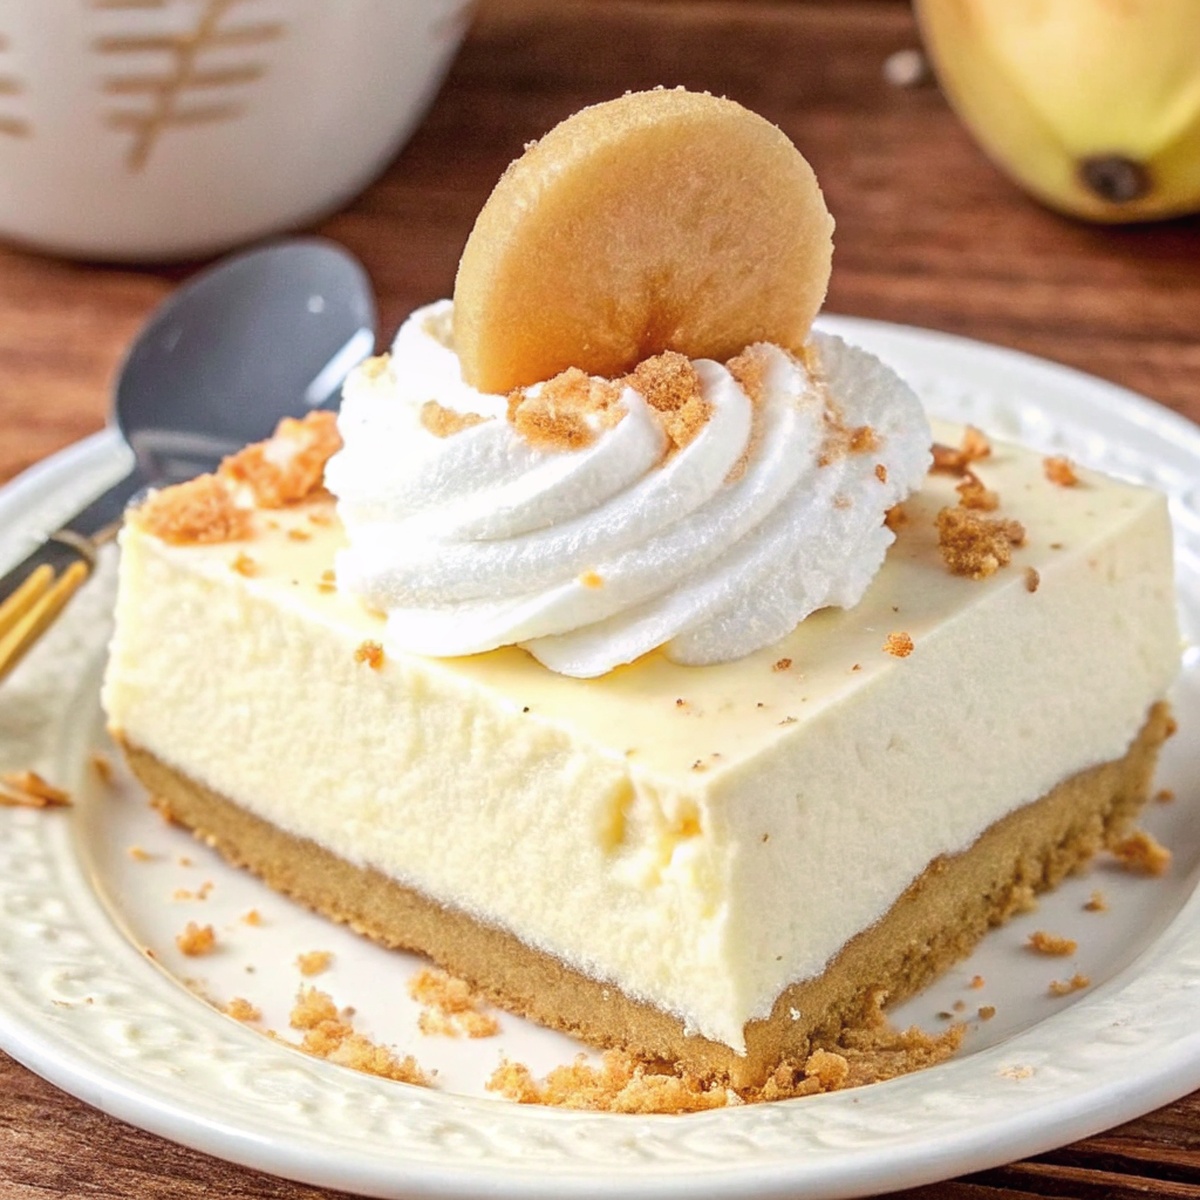
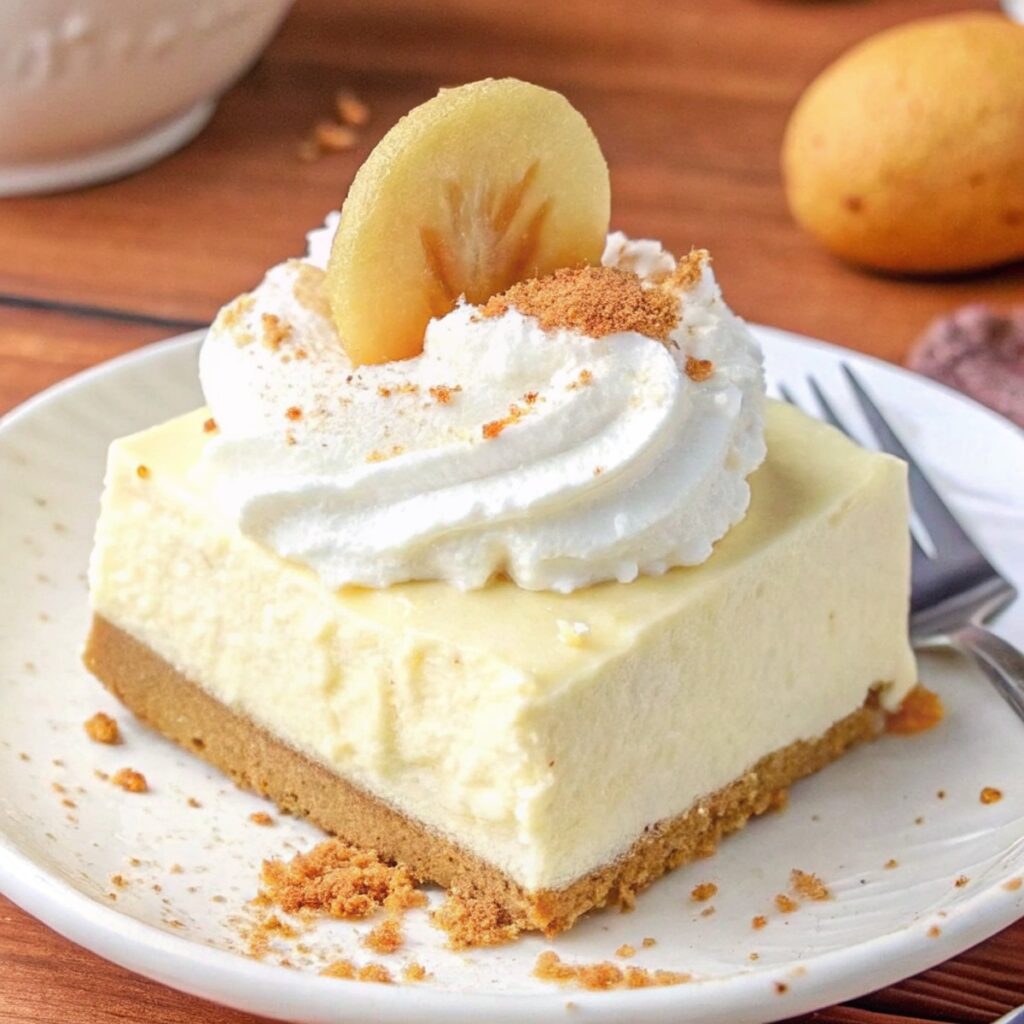
Banana Pudding Cheesecake Bars
Ingredients
For the Crust:
- 2 cups crushed Nilla wafers
- 2 tablespoons brown sugar
- 1/2 cup unsalted butter melted
For the Filling:
- 16 ounces cream cheese softened
- 3/4 cup powdered sugar
- 3 tablespoons sour cream
- 1 teaspoon vanilla extract
- 1 3.4 oz package instant banana pudding mix
- 1 cup heavy cream
For Topping:
- whipped cream
- fresh banana slices
- extra Nilla wafers
Instructions
- Begin by preparing a 9x9-inch baking dish and lining it with parchment paper. In a medium bowl, combine the crushed Nilla wafers, brown sugar, salt, and melted butter, mixing until evenly coated. Firmly press this mixture into the bottom of the dish to create a crust. Place it in the refrigerator to chill while you prepare the filling.
For the Filling:
- In a large mixing bowl, use a mixer to blend the softened cream cheese and powdered sugar on medium speed until smooth and creamy. Incorporate the sour cream and vanilla extract, mixing well to combine.
- Add the instant banana pudding mix into the mixture and continue beating until well blended. Remember to scrape the sides of the bowl to ensure full incorporation.
- Pour in the heavy cream and whip the mixture until it reaches a thick, smooth consistency reminiscent of cheesecake.
- Distribute the creamy filling evenly atop the chilled crust. Cover and refrigerate for a minimum of 6 hours, or overnight for optimal results.
- When ready to enjoy, use the parchment paper to lift the dessert from the pan and cut into bars. Top each bar with a dollop of whipped cream, a few slices of fresh banana, and additional Nilla wafers for garnish. Savor every delicious bite!