Share with your friends!
These little thumbprint cookies are unbelievably easy to make, small enough to not really count as a proper bad-for-you snack and, well, they’re as cute as a button.
Now I don’t know about you, but for me autumn means two things: eating too much, and jam. I have made dozens upon dozens of jars of beautiful home-made jam, filling my house with heady aromas of fruit and spice and snuggliness, and nothing to do with it all. My friends are all sick of the stuff and much as I like making it, I don’t really like eating it all that much.
So, what to do? I know, put it in cookies! Then I’ll want to eat it!
If you aren’t as much of a jam-fiend as me, these can be filled with just about anything: nutella, marmalade, caramel, marshmallow fluff… The possibilities are endless.
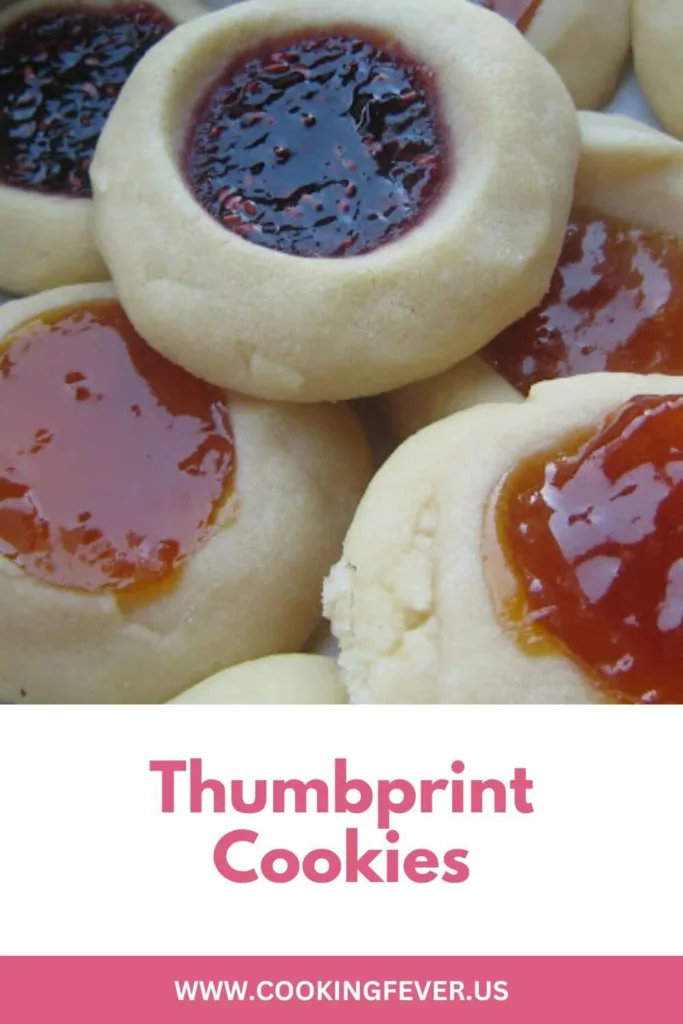
Thumbprint Cookies
Ingredients
- Ingredients makes 12
- 1/3 cup 2/3 sticks unsalted butter, room temperature
- 1/4 cup granulated sugar
- 1 medium egg yolk
- 1/3 teaspoon vanilla extract
- 2/3 cups all-purpose flour
- Large pinch of salt
Instructions
- Preheat oven to 375 F and place a silicone baking mat onto a baking sheet.
- Beat the sugar and butter until light and fluffy. Add the eggs and vanilla extract and continue to beat until fully blended. Gradually sieve in the flour and add the salt, and beat together until all the flour is incorporated, and the dough comes together as a ball.
- Split dough into 12 pieces and form balls of about 1 inch. Place onto the baking mat, evenly spaced, and flatten each one down by pressing with your thumb in the center of each cookie. This will leave a small indentation ready for filling. Kids love to help for this part, but try to encourage gentle pressing where possible. You are making thumbprint cookies after all, not thumb-flattened pancakes.
- Bake for 8-10 minutes or until the bases are looking just golden. Remove from the oven and fill each with approximately ½ teaspoon of your preferred filling. Return to the oven and bake for an additional 3-4 minutes. The cookies should be lightly golden, and the filling slightly melted.
- Remove and place on a cooling rack. Resist urges to scoff the lot while still too hot to touch.
Notes
If the dents look too shallow when you first take the cookies out of the oven, they should still be soft enough to allow you to press a deeper indentation. I would recommend doing this with a spoon as the cookies will be very hot.