There’s something truly comforting about homemade chocolate pudding. Its rich, creamy texture and deep chocolate flavor make it a favorite in our household, especially during family gatherings. One of my fondest memories involves my grandmother, who used to whip up a batch of this delightful dessert every Sunday afternoon. She had this charming habit of letting me lick the spoon, a privilege I eagerly awaited.
This recipe for homemade chocolate pudding is a nod to those cherished moments. It’s straightforward and uses ingredients you likely already have in your pantry. The combination of cocoa powder and milk creates a luscious base, while a touch of butter and vanilla enhances the flavor profile. For those who love to experiment, adding a pinch of instant espresso powder can intensify the chocolate taste, making it even more decadent.
I often find myself tweaking this recipe based on the occasion. Sometimes, I pour the pudding into a pre-baked graham cracker crust, transforming it into a quick and easy chocolate pie. Other times, I layer it with fresh berries and whipped cream for a parfait that’s as pleasing to the eye as it is to the palate. The versatility of this recipe makes it a staple in my dessert repertoire.
As a busy mom, I appreciate recipes that don’t require hours in the kitchen. This chocolate pudding is ready in just about 25 minutes, with minimal hands-on time. It’s perfect for when you want to treat your family to something special without the fuss. Plus, it’s a great recipe to make with kids. They can help with measuring, whisking, and, of course, licking the spoon clean.
Whether you’re making it for a casual family dinner or a special occasion, this homemade chocolate pudding is sure to delight. Its simplicity, combined with the nostalgia it brings, makes it a recipe you’ll return to again and again. Enjoy the process, savor the results, and create your own sweet memories with every spoonful.
How to Make Homemade Chocolate Pudding
Click here to get printable version
Ingredients
- 1 teaspoon vanilla extract
- 1/4 teaspoon kosher salt
- 2 tablespoons unsalted butter
- 2 1/4 cups whole milk
- 3 tablespoons cornstarch
- 2/3 cup white sugar
- 1/4 cup cocoa powder, unsweetened
- Whipped cream for garnish (optional)
Directions
- Thoroughly review the ingredient list and instructions. Measure out all ingredients in advance.
- In a heavy saucepan, combine the sugar, cocoa powder, cornstarch, and salt. Whisk together until fully blended.
- If there are clumps, especially from the cocoa powder, break them up using the back of a spoon.
- Gradually pour the milk into the saucepan while continuously whisking the mixture.
- Place the saucepan over low heat, whisking constantly. Allow the mixture to thicken gradually over about 10 minutes. Do not increase the heat as this may prevent proper thickening.
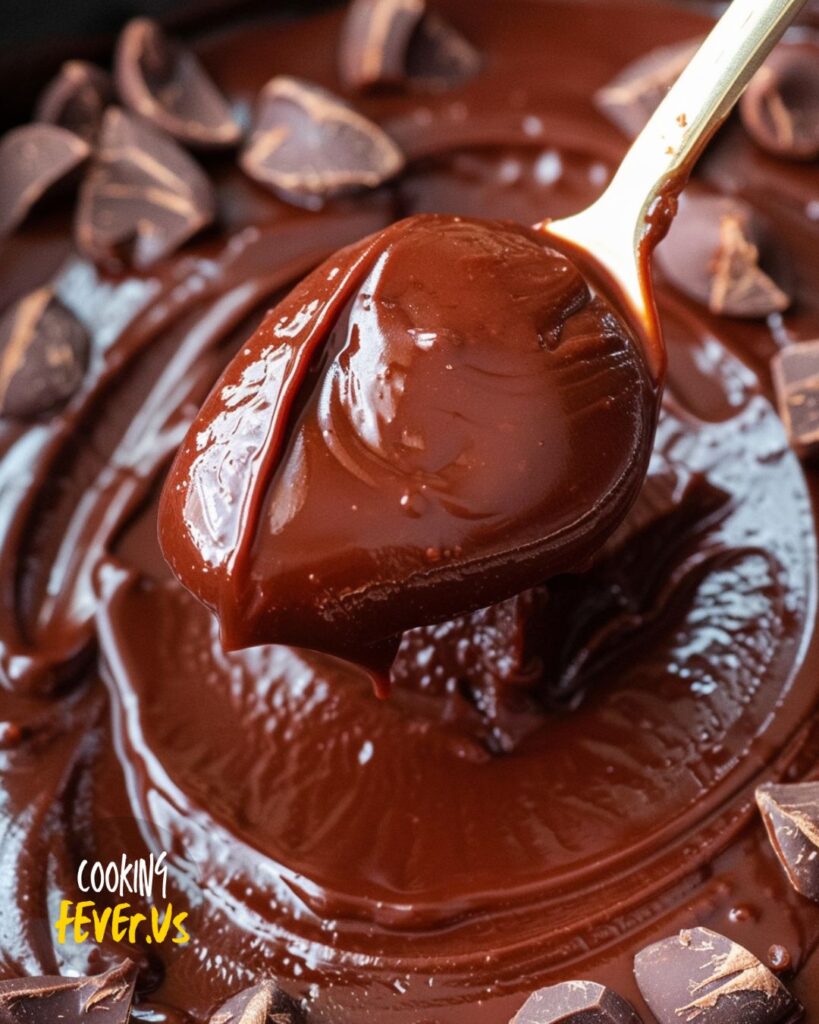
- As the pudding thickens, large bubbles will form and burst on the surface. Continue whisking for an additional minute once it starts to boil.
- Remove the saucepan from the heat once the pudding is thick enough to coat the back of a spoon. Add the butter and vanilla, whisking until fully combined.
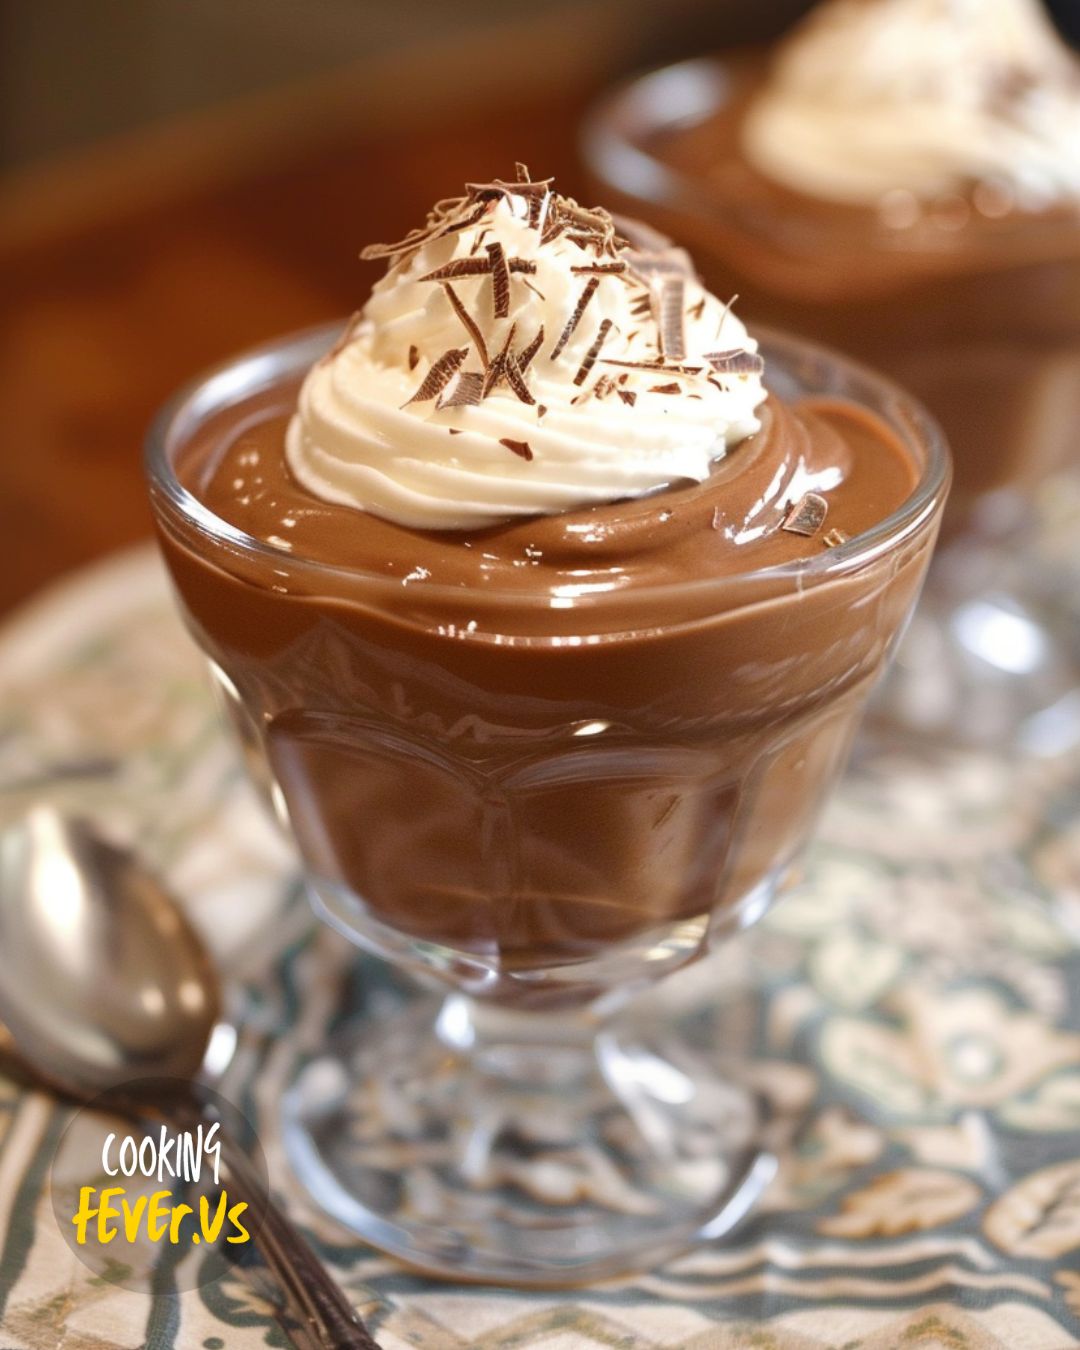
- Pour the pudding into 4 dessert cups or a graham cracker or pie crust if desired. Press plastic wrap directly onto the surface of the pudding to prevent a skin from forming. Chill in the refrigerator for about 2 hours.
- Serve chilled, topped with whipped cream if desired.
FAQs:
Can I use a different type of milk for this pudding recipe?
Yes, you can use other types of milk such as almond milk, soy milk, or low-fat milk. However, the texture and richness of the pudding may vary slightly depending on the milk used.
What should I do if my pudding is too runny?
If your pudding is too runny, it likely didn’t cook long enough. Return it to the heat and continue cooking and whisking until it thickens. Be sure not to rush the process by increasing the heat.
Can I make this pudding in advance?
Yes, this pudding can be made a day ahead. Store it in the refrigerator with plastic wrap pressed directly on the surface to prevent a skin from forming. It will stay fresh for up to 3 days.
What can I use as a garnish besides whipped cream?
Besides whipped cream, you can garnish your chocolate pudding with shaved chocolate, fresh berries, a sprinkle of cocoa powder, or even a drizzle of caramel or chocolate sauce.
Is it necessary to use unsalted butter?
Using unsalted butter helps control the amount of salt in the recipe. If you use salted butter, you might want to reduce the added kosher salt to prevent the pudding from being too salty.
Why is my pudding lumpy?
Lumps can form if the mixture isn’t whisked continuously or if the heat is too high. To avoid this, ensure you whisk constantly and maintain a low heat throughout the cooking process. If lumps do form, you can strain the pudding through a fine mesh sieve to remove them.
Homemade Chocolate Pudding
Ingredients
- 2/3 cup granulated sugar
- 1/4 cup unsweetened cocoa powder
- 3 tablespoons corn starch
- 1/4 teaspoon kosher salt
- 2-1/4 cups whole milk
- 2 tablespoons unsalted butter
- 1 teaspoon pure vanilla extract
- Whipped cream for garnish optional
Instructions
- Begin by reading the ingredients and instructions thoroughly. Measure all ingredients. Combine sugar, cocoa powder, corn starch, and salt in a heavy saucepan. Whisk them together until fully mixed. Keep the butter and vanilla close to the stove for easy access later.
- If you notice clumps after whisking, they are likely from the cocoa powder. Use the back of a spoon to break these clumps.
- Slowly pour the milk into the saucepan while continuously whisking.
- Place the saucepan on low heat and continue to whisk. The pudding needs to thicken gradually, which will take about 10 minutes. Do not increase the heat to speed up the process, as this can prevent proper thickening and result in a watery texture.
- Once the pudding starts to thicken, it will do so quickly. Large bubbles will form and burst on the surface. Continue whisking for another minute after it begins to boil.
- When the pudding is thick enough to coat the back of a spoon, remove it from the heat. Add the butter and vanilla, whisking until they are fully incorporated. Pour the pudding into 4 dessert cups, or into a graham cracker or pie crust if desired. Press plastic wrap directly onto the surface of the pudding to prevent a skin from forming. Refrigerate for about 2 hours until chilled. Serve with whipped cream if desired.