
There’s something truly special about making your own jam, especially when it involves fresh, juicy blackberries. This homemade blackberry jam recipe brings back fond memories of family summers spent foraging for berries and the anticipation of transforming them into a sweet, spreadable delight.
Growing up, my family had a tradition of going on berry-picking adventures every summer. We’d spend hours in the sun, our fingers stained purple from the ripe blackberries we eagerly plucked from the bushes. The best part was always the reward of homemade jam, its deep, rich flavor capturing the essence of those warm, carefree days. My grandmother would gather us in her cozy kitchen, and together we would transform our berry haul into jars of deliciousness that would last us through the colder months.
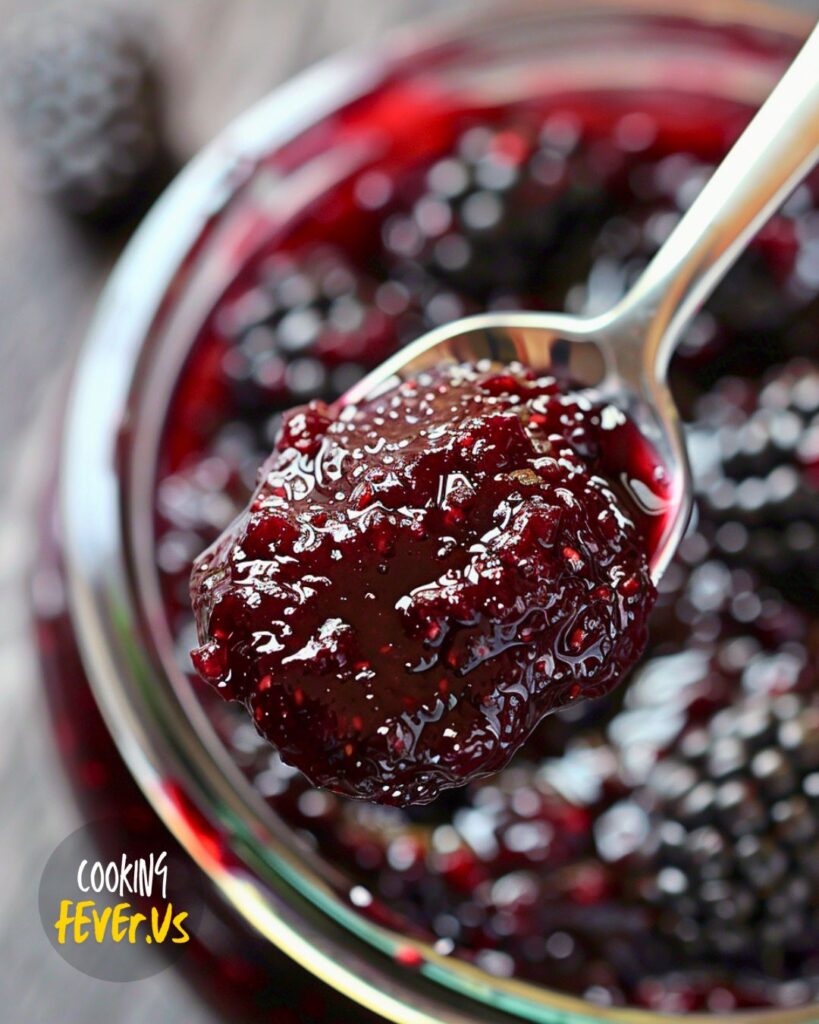
This blackberry jam recipe is a nod to those cherished times. It’s incredibly simple, requiring just a few ingredients and a bit of patience. The magic happens in a large saucepan, where the blackberries, sugar, and a splash of optional lemon juice are simmered to perfection. The sweet aroma fills the kitchen, evoking a sense of nostalgia and home.
What I love about this recipe is its flexibility. You can adjust the sugar to suit your taste—using more sugar for a sweeter jam that sets faster or less for a tarter, more berry-forward spread. The addition of lemon juice is optional but highly recommended, as it adds a bright, tangy note that complements the sweetness of the blackberries beautifully.
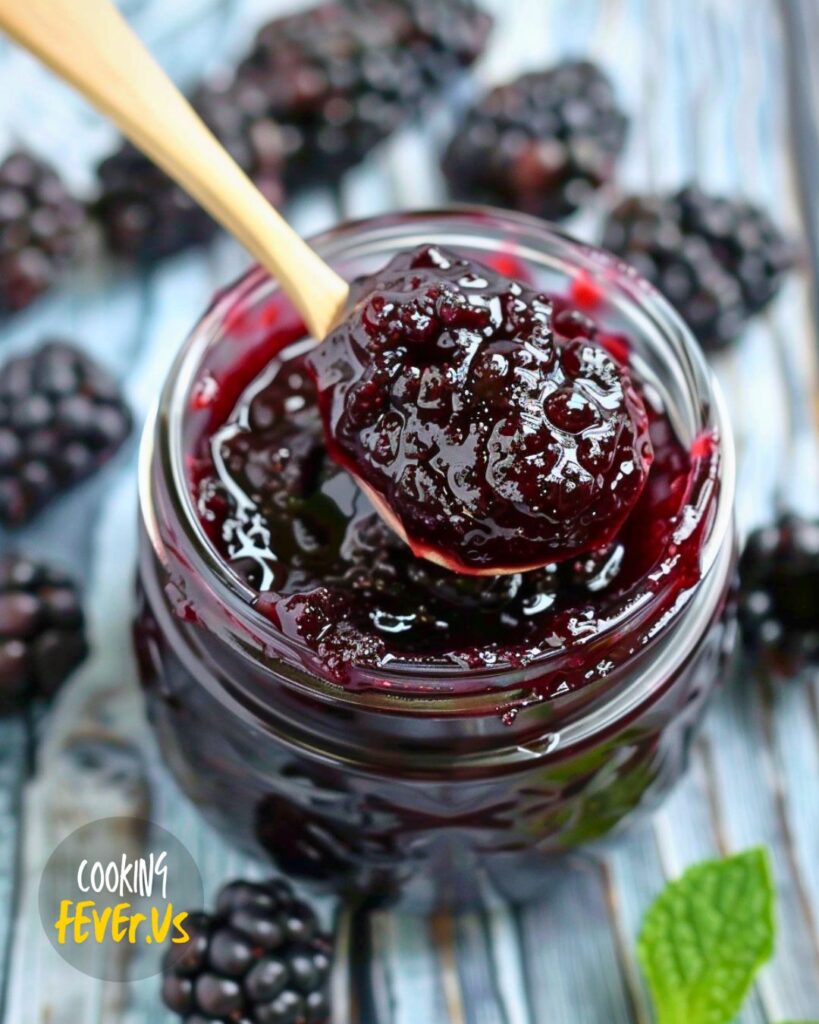
Once the jam reaches the perfect gel stage—a process that takes about 20 to 30 minutes—you can store it in jars to enjoy later. For a quick test, drop a bit of the jam on a chilled plate; if it thickens up nicely, it’s ready to be jarred. Whether you choose to refrigerate your jars or process them in a water bath for longer storage, the result is a jar of homemade goodness that can elevate your breakfasts, desserts, or even a simple slice of toast.
Making this blackberry jam is not just about creating something delicious; it’s about preserving a bit of summer’s bounty and the joy that comes with it. So gather your berries and get ready to make some sweet memories of your own!
Preparing Blackberry Jam
Click here to get printable version
Ingredients
- 5 cups of blackberries
- 1 to 2 tablespoons of optional lemon juice
- 1 to 2 cups of sugar
Directions
- In a large saucepan, mix the blackberries, sugar, and optional lemon juice. Ensure there is sufficient headspace for foaming.
- Set the heat to medium-low and let the mixture simmer, stirring often to minimize bubbling. This process will take about 20-30 minutes, depending on the sugar quantity used. More sugar will help the jam set faster and produce a higher yield.
- To check if the jam has set, place a plate in the freezer and drop a small amount of jam on it. If it thickens, the jam is ready.
- When the jam is done, pour it into prepared canning jars, leaving 1/4 inch of headspace. Store the jars in the refrigerator or process them in a water bath canner for 10 minutes.
FAQs:
Can I use frozen blackberries for this jam?
Yes, you can use frozen blackberries. Just make sure to thaw them completely and drain any excess water before starting the recipe.
How can I tell if the jam has reached the gel stage without a thermometer?
You can use the plate test. Place a plate in the freezer, and drop a small amount of jam on it. If it thickens after a few seconds, the jam has reached the gel stage.
What can I use if I don’t have lemon juice?
If you don’t have lemon juice, you can use another type of acidic juice like lime or even a bit of vinegar to help balance the sweetness and aid in the gelling process.
Is it necessary to process the jars in a water bath canner?
If you plan to consume the jam within a few weeks and store it in the refrigerator, water bath canning is not necessary. However, for long-term storage, processing the jars in a water bath canner is recommended.
Why is my jam not setting?
If your jam isn’t setting, it may need more time to cook, or you might need to add more sugar or an acidic ingredient like lemon juice to help it gel properly.
How long can I store homemade blackberry jam?
Homemade blackberry jam can be stored in the refrigerator for up to three weeks. If processed in a water bath canner, it can last for up to a year when stored in a cool, dark place.

Blackberry Jam
Ingredients
- 5 cups blackberries
- 1 to 2 cups sugar
- 1 to 2 tbsp lemon juice optional
Instructions
- In a large saucepan, combine the blackberries, sugar, and lemon juice. Make sure there is enough headspace to allow for foaming.
- Turn the heat to medium-low and simmer the mixture, stirring regularly to keep the bubbles down. It should take about 20-30 minutes for the jam to reach the gel stage, depending on the sugar amount. (More sugar will cause the jam to gel faster and yield a higher amount.)
- To test if the jam has reached the gel stage, place a plate in the freezer and drop a small amount of jam on it. If it thickens, it's ready.
- Once the jam is ready, pour it into prepared canning jars, leaving 1/4 inch of headspace. You can store the jars in the refrigerator or process them in a water bath canner for 10 minutes.