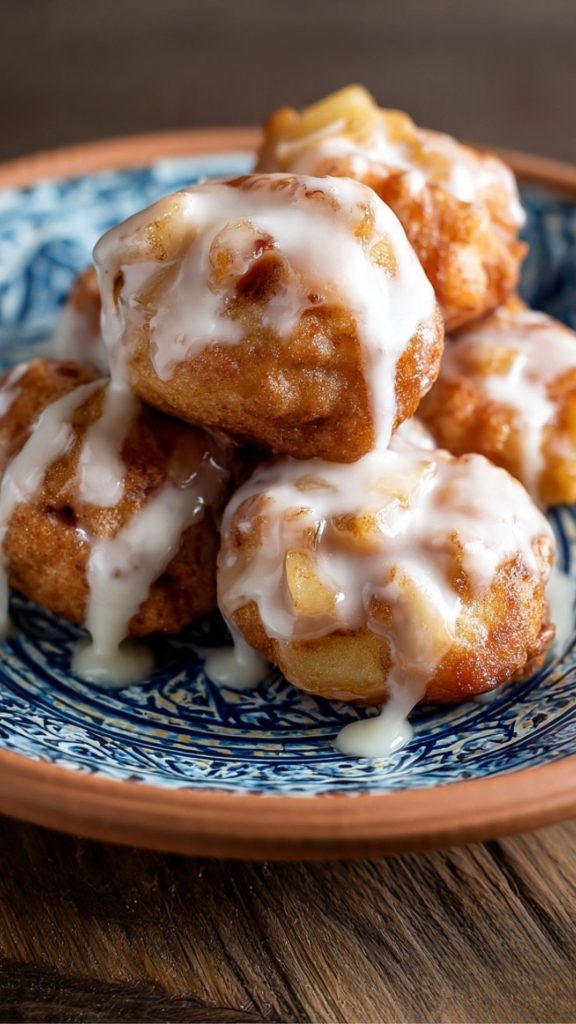
You know, there’s nothing quite like the smell of fresh pastries wafting through the house. Just the other weekend, I took some time to whip up these delightful Cherry Danishes, and let me tell you, they didn’t last long around my family! I decided to make them on a whim, thinking it might be a fun way to surprise the kids and bring a little sweetness to our Saturday morning. I sure didn’t expect the smiles that followed! My daughter could barely wait for them to cool; she kept peeking into the oven, excited to see how they turned out.
What I really love about these Cherry Danishes is how simple they are to make. With just a few ingredients, you can create something that feels oh-so-special without spending the entire day in the kitchen. They’re perfect for breakfast, brunch, or even an afternoon snack! I remember when I was younger, my mom used to make something similar, and it felt so special to gather around the table with warm pastries and a cup of hot chocolate. Those memories inspired me to give these a try!
The best part? You don’t need to be a pastry chef to nail this recipe. The puff pastry does most of the heavy lifting here, and with a creamy filling and sweet cherry topping, even the simplest cooking skills can result in a delicious treat. Plus, you can make a whole batch—enough to share with family or friends! Trust me, you’ll want to double the recipe because everyone will be clamoring for seconds!
So, roll up your sleeves, grab your apron, and let’s get baking! Whether it’s a special occasion or just a regular Sunday, these Cherry Danishes are bound to be a hit. I encourage you to give it a try; I promise your family will thank you. Happy baking!
How to Make Cherry Danish
Click here to get printable version
Ingredients
- 2 sheets frozen puff pastry (thawed according to package instructions)
- 8 ounces cream cheese (softened)
- 2 tablespoons granulated sugar
- 1 teaspoon almond extract
- 1 can (21 ounces) cherry pie filling
- 1 large egg (at room temperature)
- 1 tablespoon water
- Powdered sugar (for dusting)
Directions
Start by preheating your oven to 400°F (200°C). Line two large baking sheets with parchment paper and set them aside to prepare for the pastries.
Transfer your thawed puff pastry sheets onto a lightly floured surface. Carefully cut each sheet into six equal rectangles to create a total of twelve pastries, each about 4½ by 3 inches in size.
Arrange the pastry rectangles on the baking sheets, making sure to leave about an inch of space between each piece. This space ensures they have room to puff up while baking.
Using a fork, poke a few holes in the center of each pastry rectangle, leaving a half-inch border around the edges. This step prevents the center from puffing up too much, making it easier to fill.
In a medium mixing bowl, combine the softened cream cheese, granulated sugar, and almond extract. Mix until all the ingredients are well-blended and smooth.
Now, take a generous spoonful of the cream cheese mixture and place it in the center of each pastry rectangle.
Next, add about two heaping tablespoons of cherry pie filling on top of the cream cheese layer for that sweet, fruity touch.
In a small bowl, whisk together the egg and water to create an egg wash. Brush this mixture around the outer edges of each pastry rectangle, which will give them a lovely golden color when baked.
Send the pastries into the preheated oven and bake for 15 to 18 minutes. You’ll know they’re ready when they turn a beautiful golden brown.
Once out of the oven, dust the Cherry Danishes lightly with powdered sugar while they cool. Let them sit for a little while before diving in!
Storing Suggestion
If you have any leftovers (which is rare!), you can store the Cherry Danishes in an airtight container at room temperature for up to two days. For longer storage, they can be kept in the refrigerator for about a week, but I recommend eating them fresh for the best taste.
Cooking Tips
For an extra boost of flavor, consider adding a pinch of cinnamon to the cream cheese mixture. Not only will it enhance the taste, but it will also add a warm, comforting touch. Make sure your cream cheese is at room temperature to ensure it’s easy to mix!
Serving Suggestions
These Cherry Danishes are delightful on their own, but you can elevate your serving by pairing them with a scoop of vanilla ice cream or some freshly whipped cream. A cup of coffee or a glass of iced tea also makes a perfect accompaniment for a cozy afternoon treat.
Ingredient Substitutions
If you’re out of cream cheese, a mascarpone or ricotta cheese can make a good substitute, providing a slightly different but still delicious flavor. In place of cherry pie filling, try using blueberries or a mixed berry filling for a berry twist.
Seasonal Variations
In the fall, you can swap out the cherry filling for apple pie filling for a delightful autumn treat. For a springtime version, consider using fresh strawberries and a touch of lemon zest instead, bringing a refreshing taste to your Cherry Danishes.
Allergen Information
This recipe contains dairy and eggs, which are common allergens. If you’re looking for dairy-free options, you can try using a dairy-free cream cheese alternative. For egg allergies, consider using a mixture of flaxseed meal and water as a vegan egg wash alternative.
Frequently Asked Questions
Can I use fresh cherries instead of pie filling?
Absolutely! If you prefer fresh cherries, you can make your own filling by simmering pitted cherries with a bit of sugar and cornstarch to thicken the mixture. This way, you’ll have a delicious homemade cherry treat that’s fresh and flavorful!
Can I freeze these Cherry Danishes?
Yes, you can freeze the unbaked danishes. Before baking, prepare them as directed and then place them in the freezer. When you’re ready to enjoy them, bake them straight from the freezer, adding a few extra minutes to the baking time.
How do I make the cream cheese filling smoother?
To ensure your cream cheese filling is silky and smooth, let the cream cheese soften at room temperature for about an hour before mixing. You can also use a hand mixer to beat it, which will break up any lumps and make the filling creamy.
What kind of puff pastry should I use?
For this recipe, any store-bought frozen puff pastry will work well. Make sure to follow the package instructions for thawing, and check that it’s of good quality for the best results. Brands like Pepperidge Farm are commonly used and widely available!
How do I know when the pastries are perfectly baked?
You’ll know the danishes are done when they are a rich golden brown all over. If the edges look darker than the center, or if they feel puffy and firm to the touch, you can take them out. A good indication is to look for a nice, even color without any raw, doughy spots.
Can I make these Cherry Danishes ahead of time?
Absolutely! You can prepare the danishes the night before, then cover them with plastic wrap and store them in the refrigerator. In the morning, just pop them in the oven. It’s a great way to have a fresh treat ready without much morning prep!

Cherry Danish
Ingredients
- 2 sheets frozen puff pastry thawed as instructed
- 8 ounces cream cheese softened
- 2 tablespoons white sugar
- 1 teaspoon almond flavoring
- 1 can cherry pie filling 21 ounces
- 1 large egg at room temperature
- 1 tablespoon water
- powdered sugar for dusting
Instructions
- Preheat your oven to 400°F. Line two large baking sheets with parchment paper and set them aside.
- On a lightly floured surface, cut each puff pastry sheet into 6 equal rectangles to get 12 rectangles, each approximately 4½x3 inches.
- Place the pastry rectangles onto the prepared baking sheets, leaving about 1 inch of space between each piece.
- With a fork, poke a few holes in the center of each pastry, leaving a ½-inch border around the edge to help the edges puff while keeping the center flat.
- In a medium bowl, mix together the softened cream cheese, white sugar, and almond extract until well blended.
- Spoon a generous tablespoon of the cream cheese mixture into the center of each pastry rectangle.
- Spoon about 2 heaping tablespoons of cherry pie filling on top of the cream cheese mixture.
- In a small bowl, whisk the egg and water together. Brush this egg wash around the outer edges of each pastry rectangle.
- Bake in the preheated oven for 15 to 18 minutes or until golden.
- Remove from the oven and lightly dust with powdered sugar. Let cool slightly before serving.


