Share with your friends!
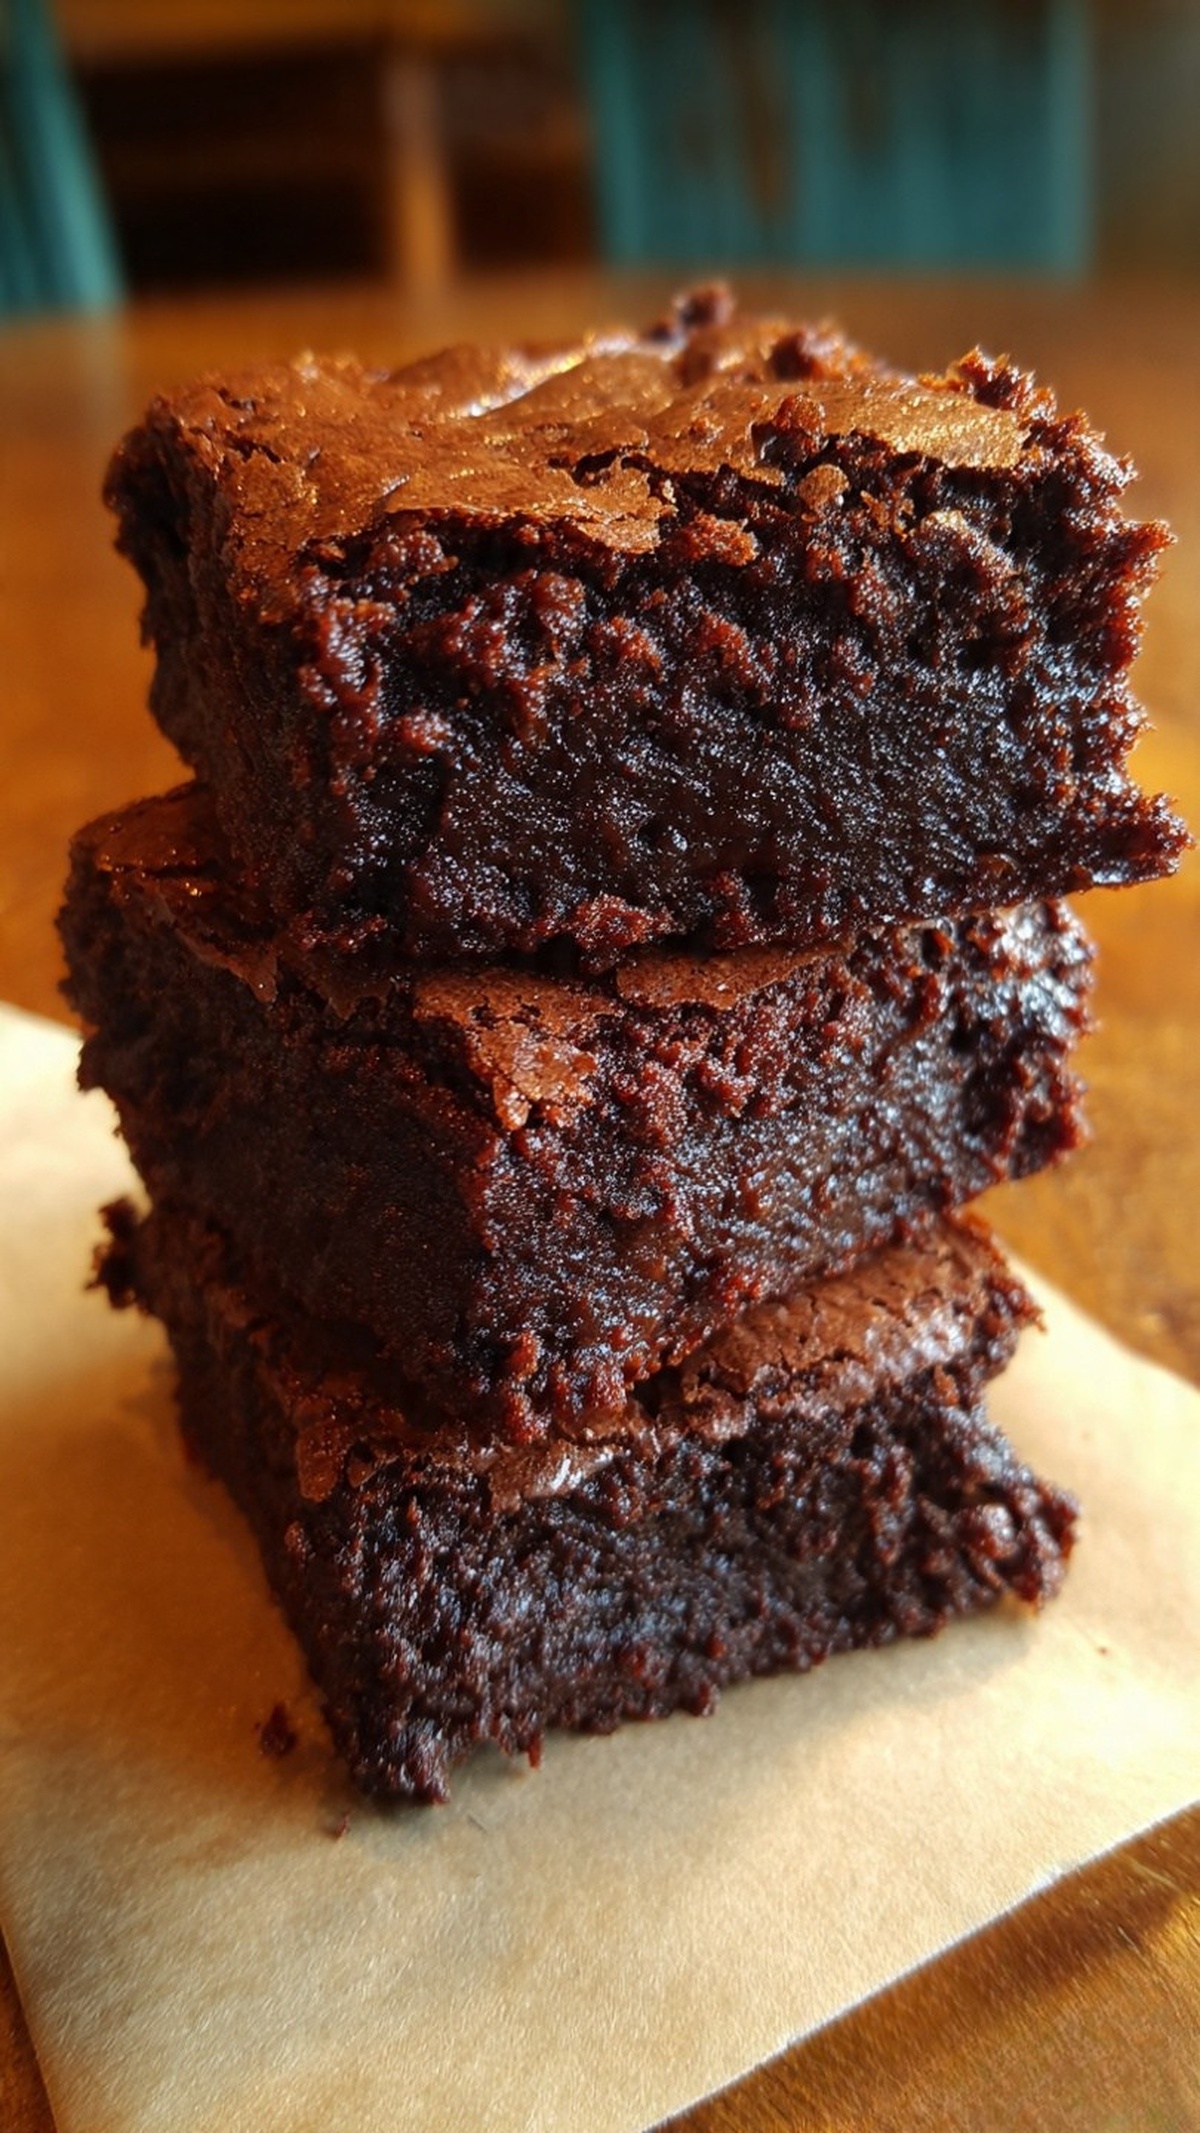
If you’ve ever promised dessert and then realized you’re low on flour or short on time, these fudgy, flourless brownies are the perfect solution. They use basic pantry ingredients, lean on dark chocolate for structure instead of flour, and still deliver that classic fudgy middle and shiny, crinkly top everyone looks for in a brownie.
I rely on this recipe when I need something that feels special but can be mixed in one bowl with a hand mixer and baked in under 30 minutes. There’s no whipping egg whites separately, no complicated steps, and no gluten-free blends to track down. Just chocolate, cocoa, eggs, and a few staples you probably already have. If your butter and eggs are at room temperature, you’re already halfway there.
What I like most is how forgiving this batch is. You can bake it in a simple 8-inch pan, chill it to get really clean slices, and dress it up with a scoop of ice cream or a handful of berries. It’s rich enough for chocolate lovers, but the method is straightforward enough for new bakers who want to avoid dense, greasy, or dry results. If you want a go-to flourless brownie that works on busy weeknights, for last-minute guests, or as a reliable gluten-free option, this one earns a permanent spot in the rotation.
The Magic of Fudgy, Flourless Brownies
Click here to get printable version
What You’ll Need
- 10 ounces dark chocolate, chopped or melting chocolate disks
- 4 tablespoons unsalted butter, at room temperature
- 3/4 cup granulated sugar
- 3 large eggs, at room temperature
- 2 teaspoons pure vanilla extract
- 1/4 teaspoon kosher salt
- 1/4 cup unsweetened cocoa powder (preferably Dutch-processed)
- 3 ounces dark chocolate chips, for scattering on top (optional)
The Quick and Easy Method
- Preheat your oven to 350°F (175°C). Lightly grease an 8-inch square baking pan, then line it with parchment or nonstick foil, leaving an overhang on two sides for easy lifting. Set the pan aside.
- Melt the 10 ounces of dark chocolate in a heat-safe bowl set over a pot of barely simmering water, or in the microwave at 70% power in 30-second bursts, stirring between each. Heat just until smooth. Set aside to cool slightly; it should be warm, not hot, before adding to the batter.
- In a large mixing bowl, combine the room-temperature butter and sugar. Beat with a handheld mixer on medium-high speed until the mixture looks creamy and slightly lightened in color, about 3 minutes. Scrape down the bowl once to ensure everything is evenly mixed.
- Add the eggs one at a time, beating very well after each addition. The mixture should become thicker and glossier as you go. Don’t rush this step; strong mixing here builds structure for that crackly top.
- Beat in the vanilla and salt on high speed for about 1 minute, until the batter looks light and a bit airy around the edges.
- Sift or sprinkle the cocoa powder over the batter. Mix it in gently by hand first so it doesn’t puff everywhere, then beat on low speed just until the cocoa is fully absorbed and no dry streaks remain.
- Pour in the melted, cooled chocolate. Beat on medium speed for 2 to 3 minutes, until the batter is very smooth, thick, and glossy. Stop as soon as it’s evenly mixed; overmixing at this stage isn’t helpful.
- Scrape the batter into your prepared pan and spread it into an even layer, pushing it all the way into the corners. Tap the pan firmly on the counter a few times to release any large air bubbles.
- If using, scatter the chocolate chips evenly over the top. Press them gently into the surface so they stick to the batter and don’t fall off after baking.
- Bake in the center of the oven for 22 to 25 minutes. The brownies should be puffed and set in the middle, and the center should no longer jiggle when you gently shake the pan. Do not wait for a dry toothpick; that will overbake them.
- Place the pan on a wire rack and let the brownies cool completely in the pan. This helps them finish setting and stay fudgy instead of crumbly.
- When the brownies are close to room temperature, transfer the pan to the refrigerator and chill until the slab feels firm to the touch, about 1 hour. This step makes slicing much cleaner.
- Use the parchment or foil overhang to lift the brownies out of the pan onto a cutting board. With a large, sharp knife, cut into 9 equal squares, wiping the knife clean between cuts for the neatest edges.
Getting That Shiny Crinkle Top
The shiny, crackly top on flourless brownies comes from how you handle the eggs and sugar. To get it, you need to beat the eggs and sugar long enough to form a slightly thick, glossy mixture. That’s why the steps where you cream the butter and sugar, then beat in the eggs one at a time, matter so much. Don’t cut that mixing time short. The mixture should look lighter, with a bit of volume. Also, make sure your chocolate is melted and smooth, but not hot enough to scramble the eggs. Warm chocolate helps the sugar dissolve and encourages that thin, meringue-like layer on top as the brownies bake. Finally, avoid adding extra liquid (like milk) which can soften that crust. Stick to the recipe quantities and resist the urge to reduce the sugar; less sugar often means a dull, matte surface instead of a crinkly one.
Cooling and Slicing Cleanly
Most brownie problems happen after baking, not in the oven. For neat squares, you’ll want to control the cooling. First, let the brownies cool completely in the pan on a rack—this helps them finish setting so the middle stays fudgy but not gooey. Next, the chill time in the fridge is crucial. Plan on at least 1 hour of refrigeration before slicing; the brownies should feel firm when you press the top lightly. When you’re ready to cut, lift the entire slab out of the pan using the parchment overhang. Use a long, sharp knife and wipe the blade clean (and dry) between every cut. If the knife drags or the brownies still seem soft, pop them back in the fridge for 15 minutes. This simple cool-then-chill routine turns a sticky block into bakery-style squares you can stack, plate, or pack up without crumbling.
Recipe FAQ: Common Questions
Can I make these fudgy, flourless brownies ahead of time?
Yes, these brownies are excellent for making ahead. Once cooled and chilled, store them in an airtight container in the refrigerator for up to 4 days. The texture actually improves after the first 24 hours, becoming even denser and fudgier. For serving, you can eat them cold, let them come to room temperature for 20 to 30 minutes, or warm individual squares in the microwave for about 10 to 15 seconds. If you need to bake further in advance, wrap the whole slab tightly in plastic wrap, then foil, and freeze for up to 2 months. Thaw in the fridge overnight before slicing.
How do I adjust the bake if I use a different pan size?
If you change the pan size, you’ll need to watch both thickness and bake time. A 9-inch square pan will give you slightly thinner brownies; start checking at 18 to 20 minutes, as they may bake faster. For a smaller, deeper pan (like 7-inch), the brownies will be thicker and can take 5 to 10 minutes longer. In any case, rely more on visual cues than the clock: the center should be puffed and no longer jiggle when gently shaken. Avoid using a very large rectangular pan, which can spread the batter too thin and dry out the edges.
Why do my brownies sometimes turn out dry or cakey?
Dry or cakey brownies usually come from overbaking or incorrect measuring. Even a few extra minutes in the oven can push these from fudgy to firm because there’s no flour to buffer the texture. Always start checking at the earlier end of the time range and pull them as soon as the center is set but still soft. Also, make sure you’re measuring cocoa accurately; too much cocoa can dry the batter. For the cocoa, fluff it with a spoon, lightly scoop, and level with a straight edge rather than packing it in the cup. Finally, avoid convection settings if possible, as they can bake the edges too quickly.
Can I reduce the sugar or use alternative sweeteners?
You can make small adjustments, but it will change both texture and appearance. Sugar doesn’t just sweeten; it helps create the shiny top and a moist, fudgy interior. Reducing sugar by more than about 25% can lead to dull, dense brownies that don’t set correctly. If you want to cut sweetness, start by lowering the sugar by 2 to 3 tablespoons and see how you like the result. Liquid sweeteners like honey or maple syrup are not recommended here because they add extra moisture and can make the brownies bake unevenly. For non-sugar alternatives, choose ones formulated as a 1:1 baking sugar replacement and expect a slightly different texture.
Fudgy, Flourless Brownies
Equipment
- Double boiler or microwave-safe bowl
- Handheld mixer
- Large mixing bowl
- 8-inch square baking pan
- Parchment paper
- Wire rack
- Sharp knife
Ingredients
- 10 ounces dark chocolate chopped or melting chocolate disks
- 4 tablespoons unsalted butter at room temperature
- 3/4 cup granulated sugar
- 3 eggs at room temperature
- 2 teaspoons pure vanilla extract
- 1/4 teaspoon kosher salt
- 1/4 cup unsweetened cocoa powder preferably Dutch-processed
- 3 ounces dark chocolate chips for scattering (optional)
Instructions
- Heat the oven to 350°F (175°C). Line an 8-inch square baking pan with parchment or nonstick foil so it overhangs the sides and lightly grease the liner; set the pan aside.
- Melt 10 ounces of dark chocolate using a double boiler or in the microwave. If using the microwave, warm in 30-second bursts at about 70% power, stirring between bursts until smooth. Allow the chocolate to cool briefly.
- In a large bowl, cream the room-temperature butter and granulated sugar with a handheld mixer on medium-high speed until the mixture becomes smooth and creamy, about 3 minutes.
- Add the eggs one at a time, beating well after each addition so the batter becomes cohesive and glossy.
- Stir in the vanilla extract and kosher salt, then beat on high for roughly a minute until the mixture lightens slightly and gains air.
- Sift or sprinkle in the unsweetened cocoa powder and fold it in by hand to start, then mix briefly on low speed until the powder is fully incorporated.
- Pour the cooled melted chocolate into the batter and beat until the mixture is smooth and glossy, about 2 to 3 minutes.
- Spoon the batter into the prepared pan, spread it into an even layer, and firmly tap the pan on the countertop to remove large air bubbles.
- Evenly scatter the optional chocolate chips over the surface and press them lightly so they stick into the batter.
- Bake on the center rack for 22 to 25 minutes, until the top has puffed and set and the center no longer jiggles when you gently shake the pan—be careful not to overbake.
- Remove the pan from the oven and let it cool completely on a wire rack while remaining in the pan.
- When the brownies are mostly cool, refrigerate the pan for about 1 hour until the brownies feel firm; this will produce cleaner slices. Lift the brownies from the pan using the parchment overhang and cut into 9 squares with a sharp knife.